
For this install you’ll need an Allan Key set.
Make sure the weapon is clear, no magazine is installed and the battery is disconnected. Then start by removing any sights attached and the presently installed handguard. If you have the mock working parts installed, remove them as well.
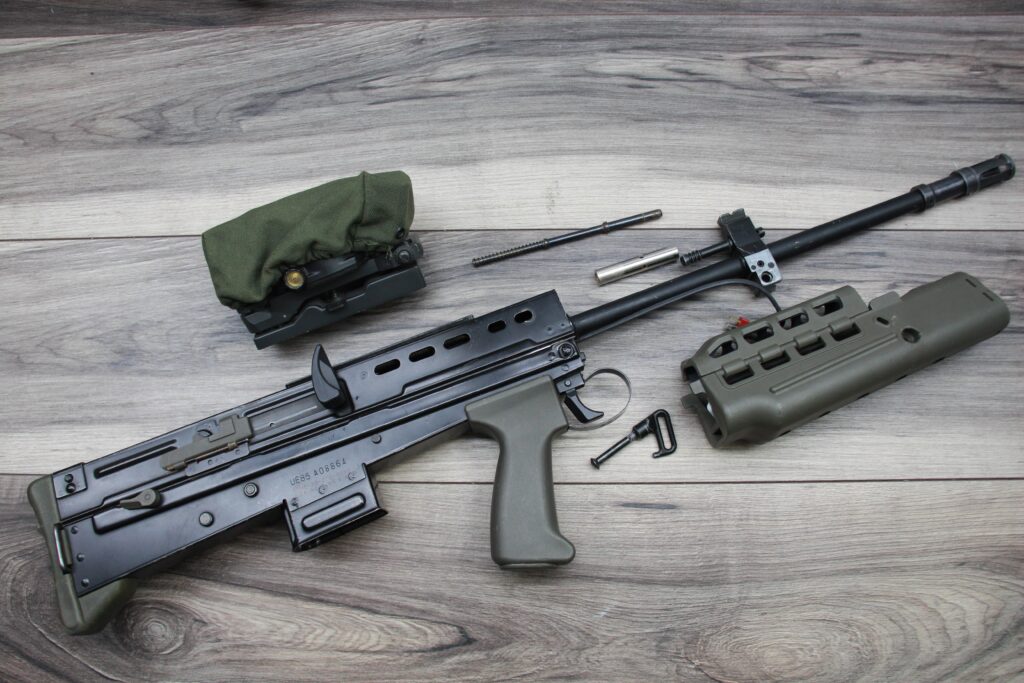
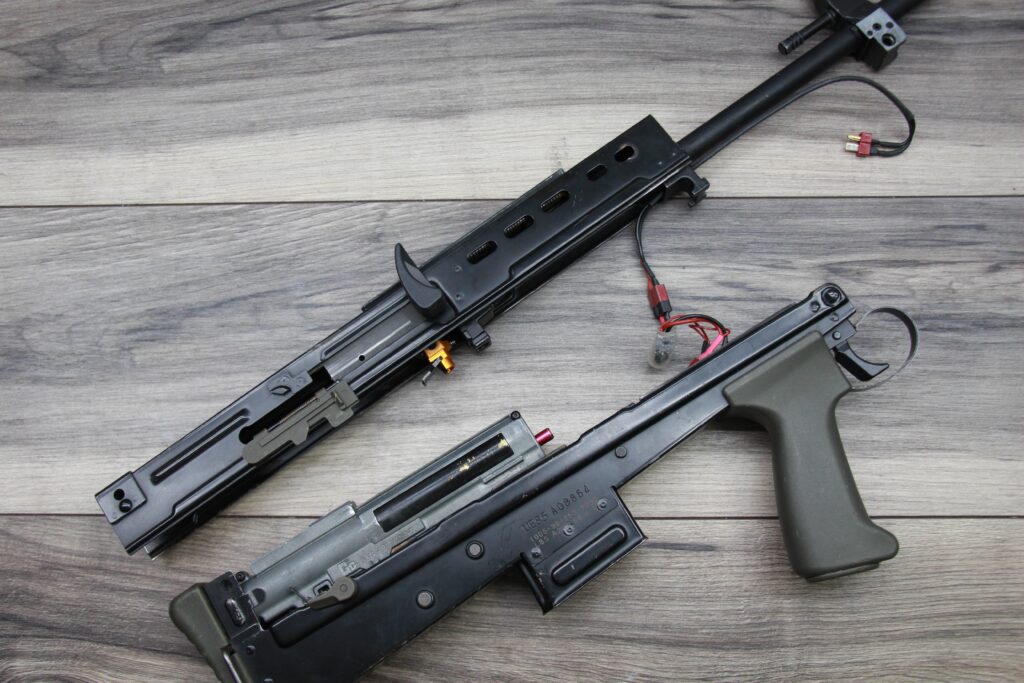
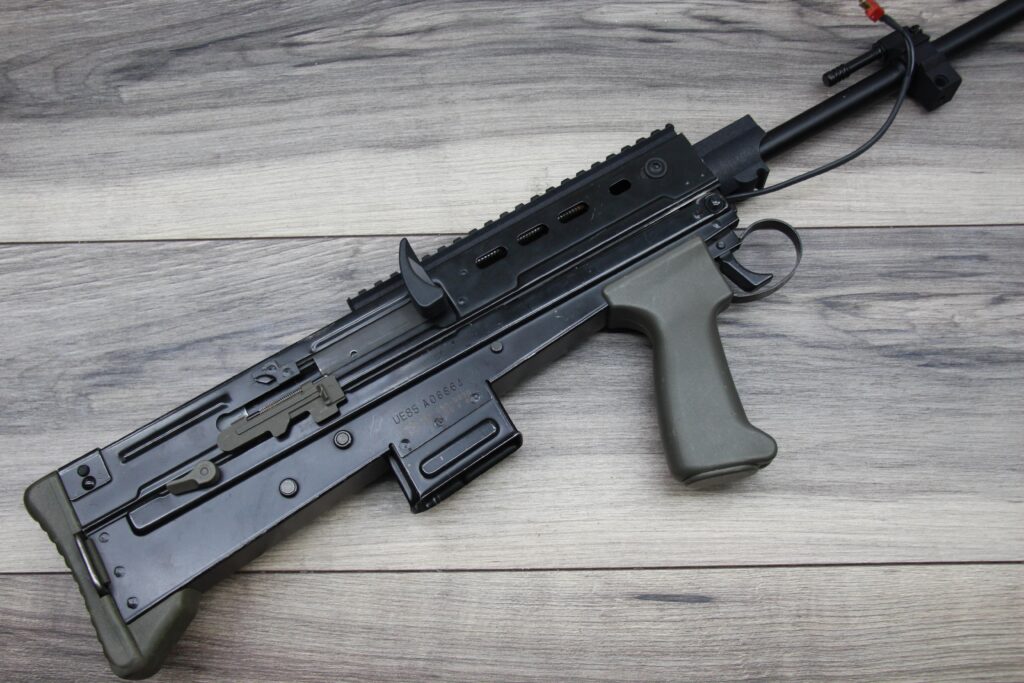
Remove the rear body pin and slide the TMH (Trigger Mechanism Housing or lower receiver to you lot across the pond!) off of the receiver.
Remove your inner barrel and Hop up unit.

Remove the two hex bolts holding the barrel in place.
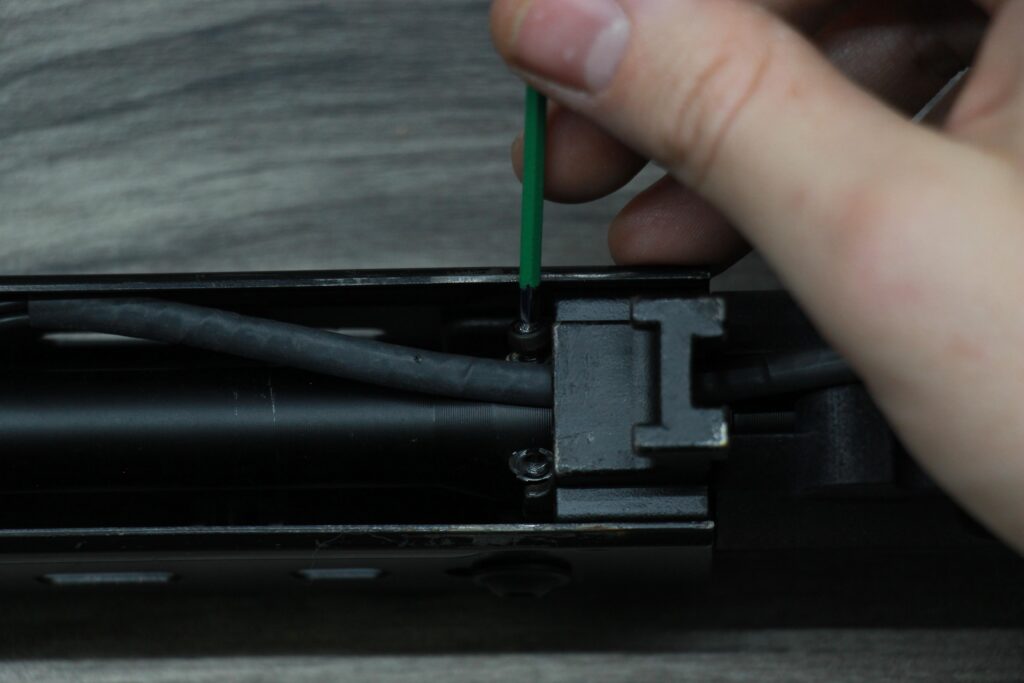
Tighten up the screw under the trunnion and begin to slide the barrel forward and out of the receiver.
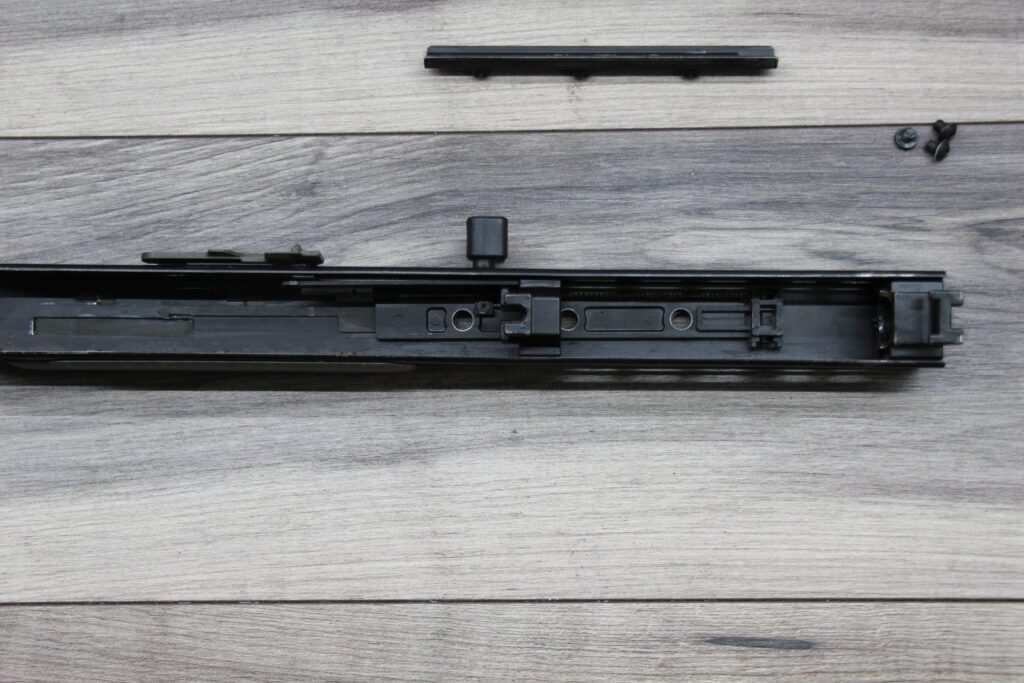
Slide the barrel far enough foward to expose all three of the rail mounting screws (one rear of the trunnion and two forward). Note the barrel does not need to come all the way out of the receiver, however I have removed it to allow for easier images of the process to be taken.
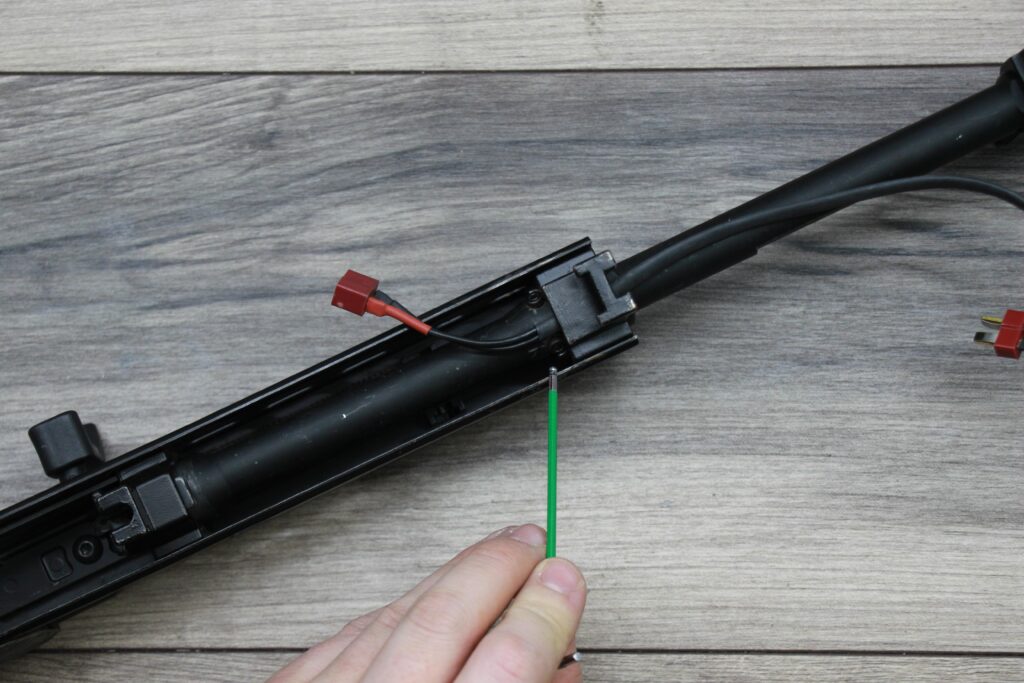
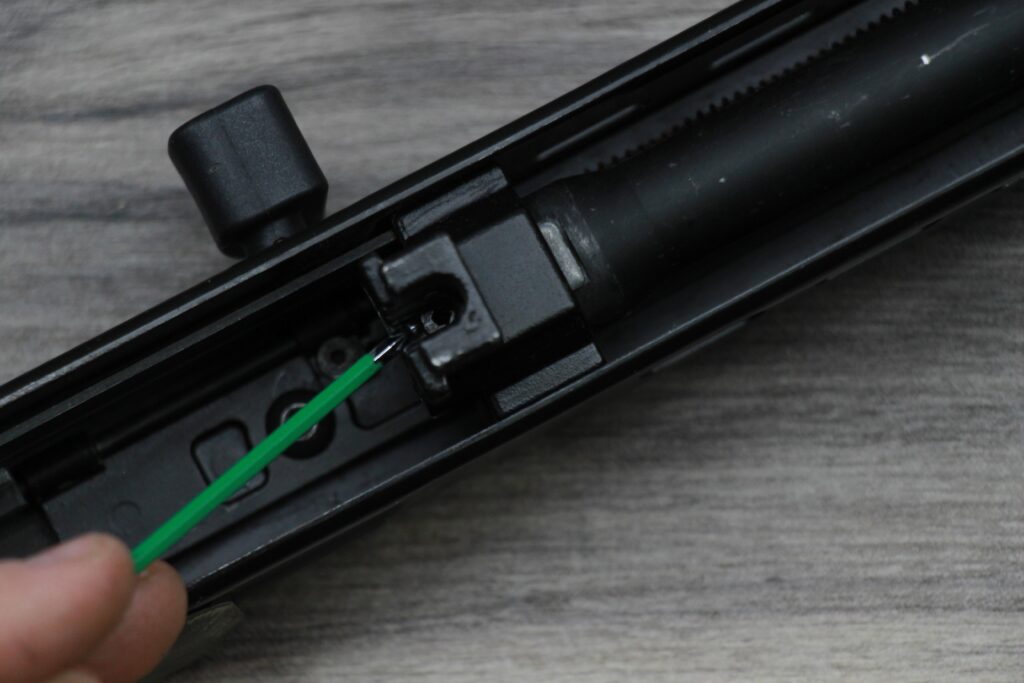
Locate the three bolts holding the sight rail onto the receiver and remove them. Keep the bolts in a safe space as they will be required to attach the TES sight rail.

Note this is the best state to paint the rifle, requiring only the removal of the bolt handle, dust cover and cheek rest to take the receiver down to its base part.
If planning to paint the TMH you’ll need to remove the gearbox, butt pad, pistol grip, trigger, safety and selector.
Installing the TES Sight Rail
Insert the Sight Rail into the three holes on the top of the receiver. Note that the EK3M sight rail is shown here, but the process is the same for the TES rail. The TES rail should only fit on one way, with the thee screw lugs to the rear.
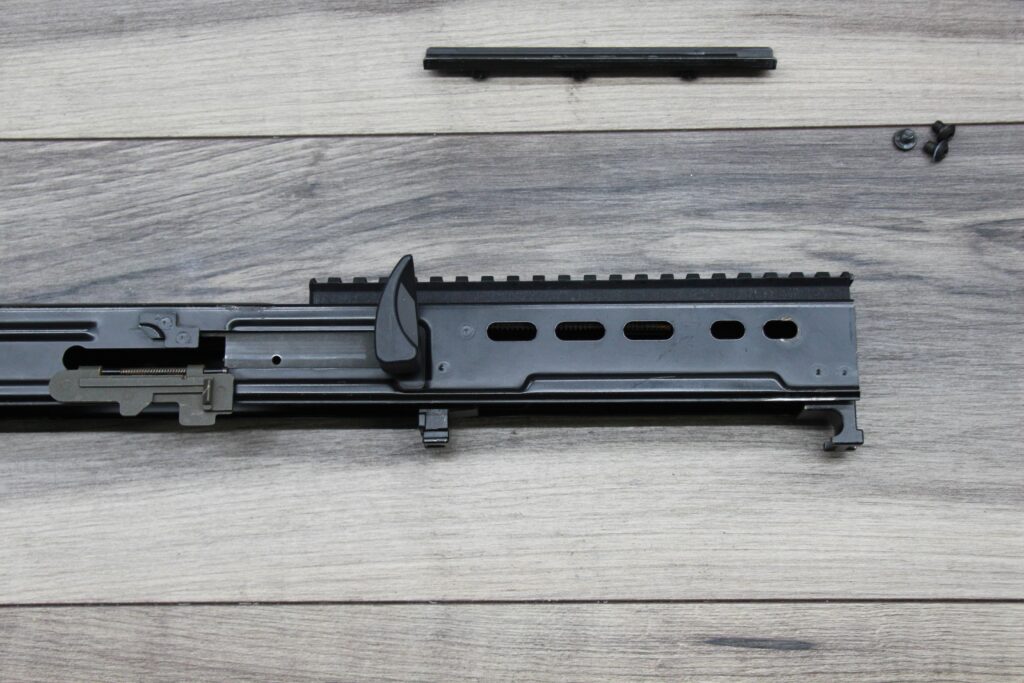
Ensure that the mock bolt plate is installed over the pins of the sight rail and then reinstall the three fixing bolts into the sight rail.
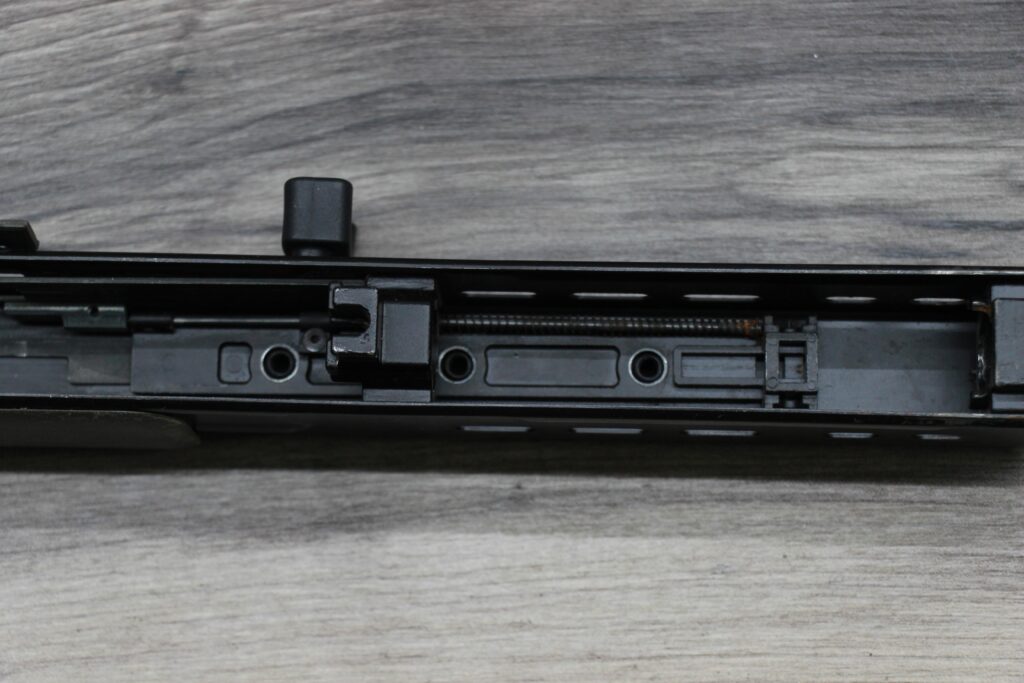
Ensure the inner barrel retention clip is in it’s slot then slide the barrel back into the rear trunnion before re-installing the two barrel fastening bolts.
The bolt under the rear trunnion can also be loosened until resistance is met, ensuring the barrel is held firmly to the rifle.
The inner barrel and hop up unit can now be re-installed.

And the TMH re-attached.
Now you can reinstall your handguard of choice and your mock working parts as you see fit!