
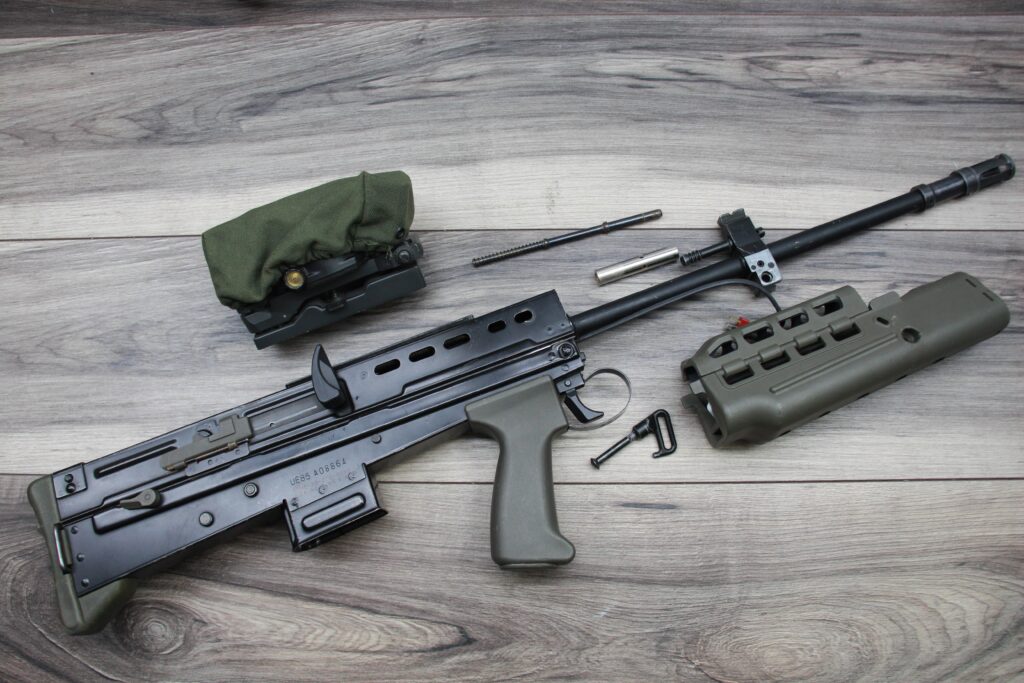
This page covers the installation process for the EK3M kit onto a AA L85.

Check the kit and ensure you have the following items:
- The EK3M Handguard
- The Sight Rail
- The Receiver Mounting Block
- The EK3 Gas Block
- The bag of fasteners

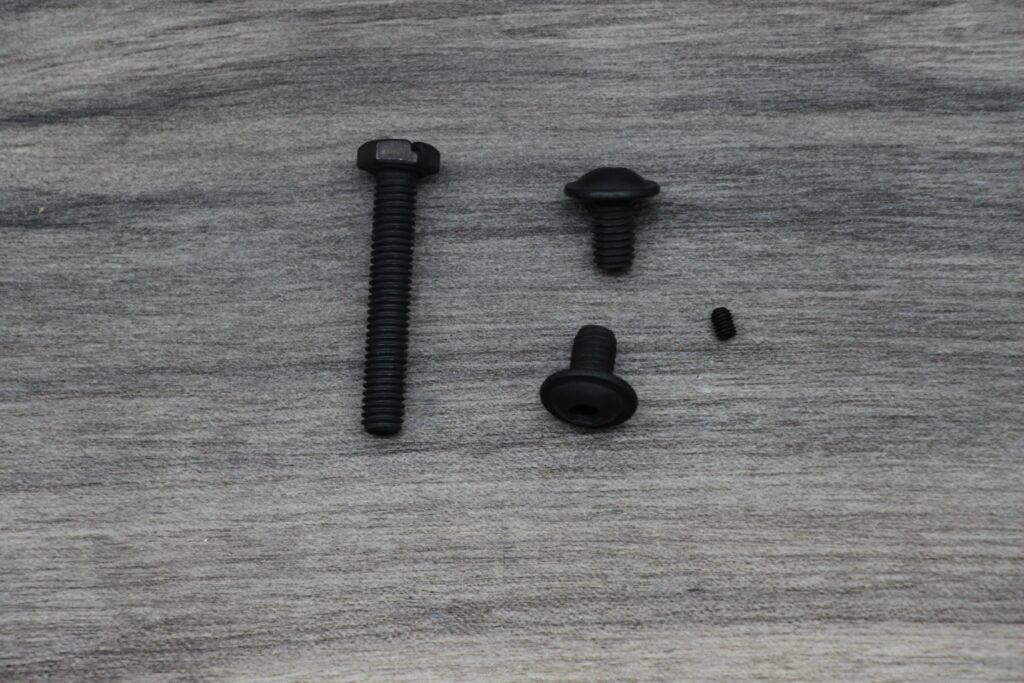
In the bag of fasteners their should be:
- 1x Handguard Fastening Slotted Hex Head Bolt
- 2x Receiver Mounting Block Flanged Head Bolts
- 1x Gas Block Grub Screw
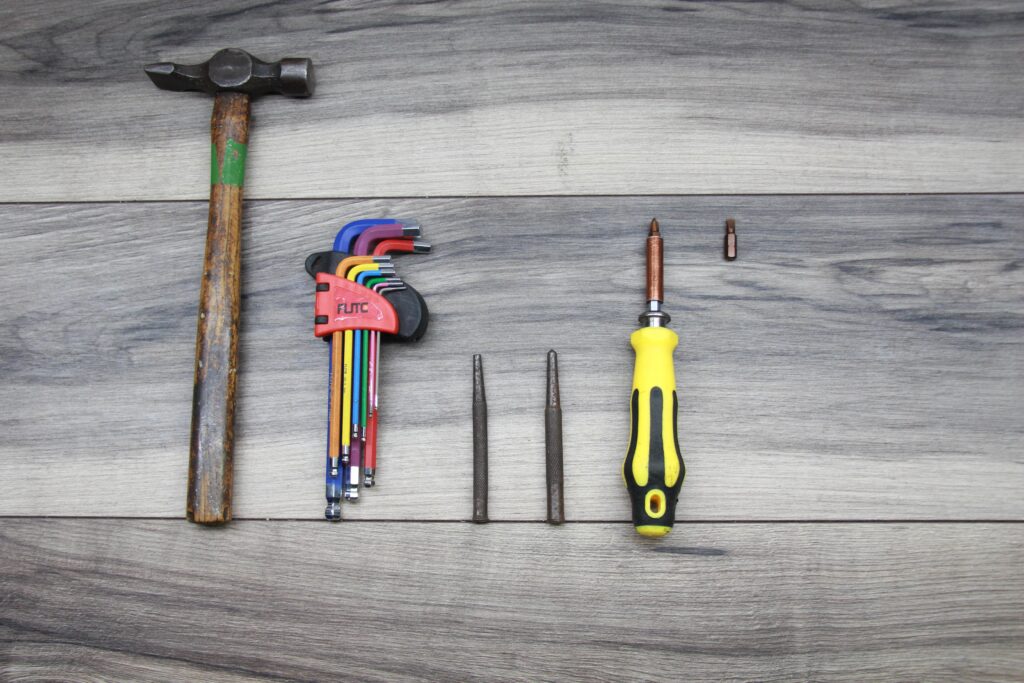
You’ll also need some tools to carry out this install:
- an Allan Key Set
- A Cross Head Screw Driver
- A Flat Head Screw Driver
- A Punch Set
- A Hammer
If you don’t have a punch set you can use other similarly sized objects as the pins that need removing, but I recommend getting a set, such as this one from screw fix.
Striping Down the Rifle
Make sure the weapon is clear, no magazine is installed and the battery is disconnected. Then start by removing any sights attached and the presently installed handguard. If you have the mock working parts installed, remove them as well.
Remove the rear body pin and slide the TMH (Trigger Mechanism Housing or lower receiver to you lot across the pond!) off of the receiver.
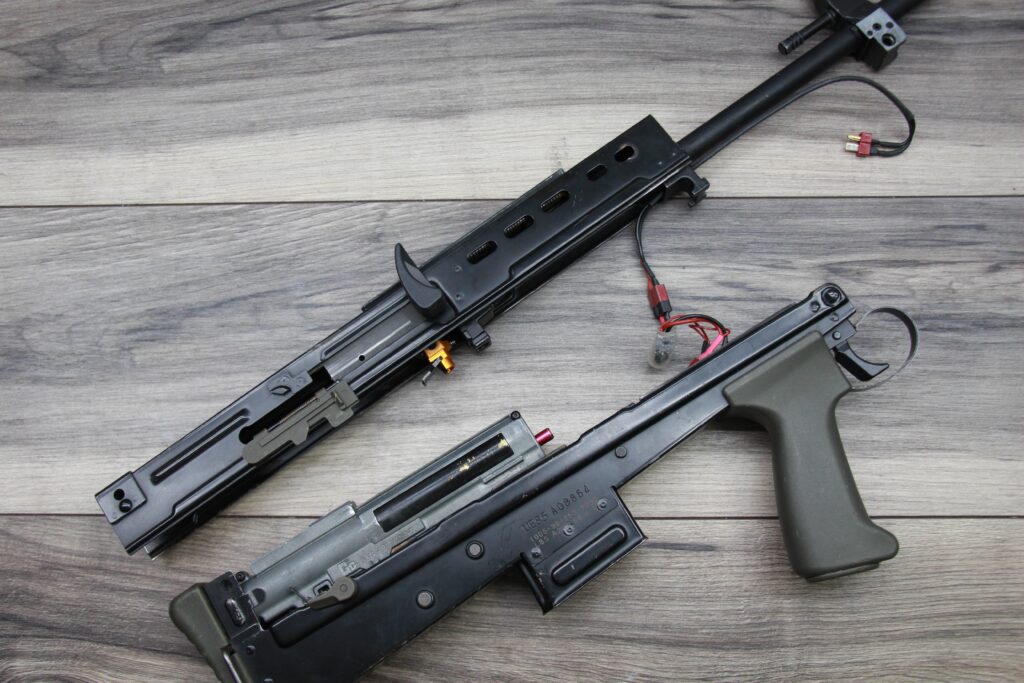
Remove your inner barrel and Hop up unit.

Remove the two hex bolts holding the barrel in place.
Tighten up the screw under the trunnion and begin to slide the barrel forward and out of the receiver.
Once the rear of the barrel is clear of the trunnion remove the two screws and remove the plate. Note that a plastic inner barrel catch sits in a slot in the side of the barrel (mine has long sine gone missing!) Grab this and put it somewhere safe.
With the plate and catch removed the barrel can be slid out of the receiver and the plate and fitting hex bolts can be reinstalled on the barrel to ensure they don’t get lost.

Unscrew the flash hider.
Loosen the grub screw holding the gas block onto the barrel and slide it forward and off.
If you wish to install the mock gas parts onto the EK3M you’ll also need to remove the gas plug from the gas block. To do this use the punch to knock out the roll pin and remove the gas plug. This can then be installed into the EK3M gas block and the roll pin re-installed.

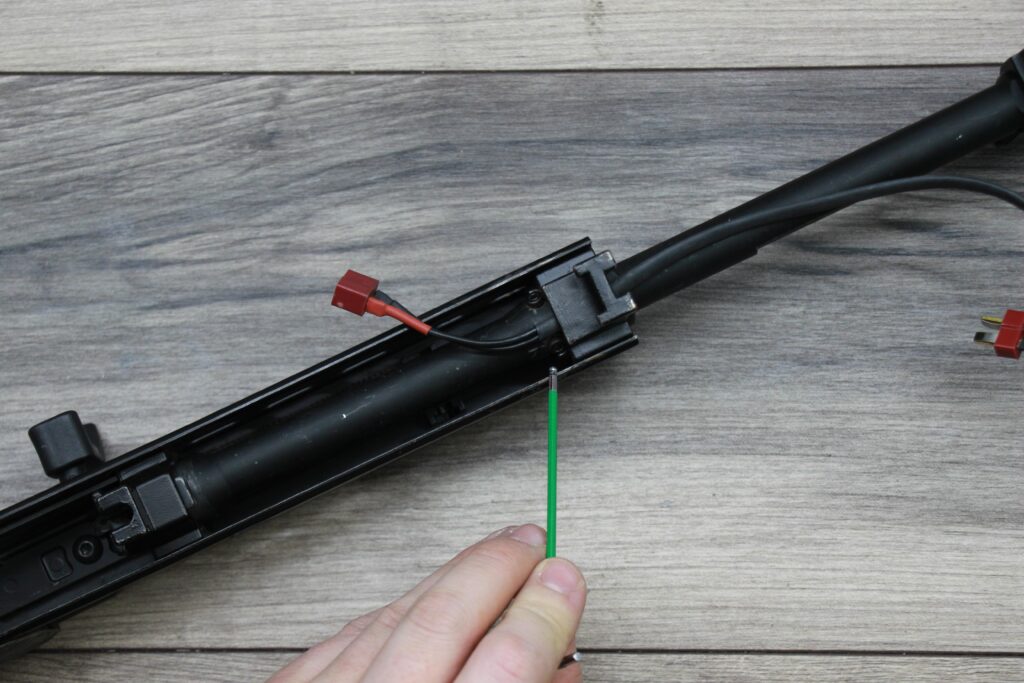
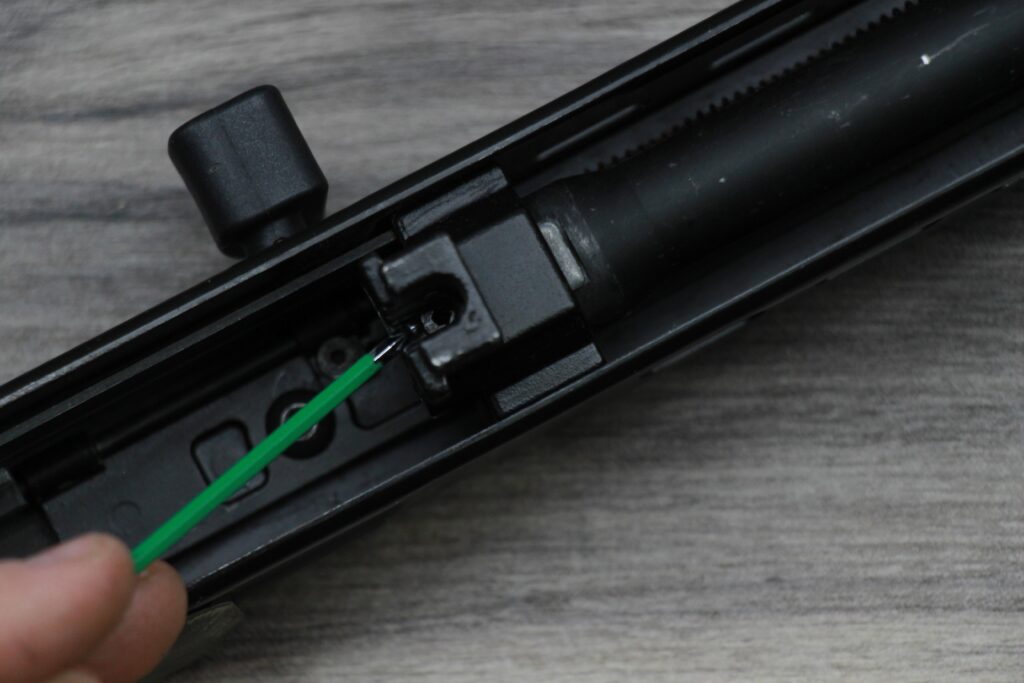
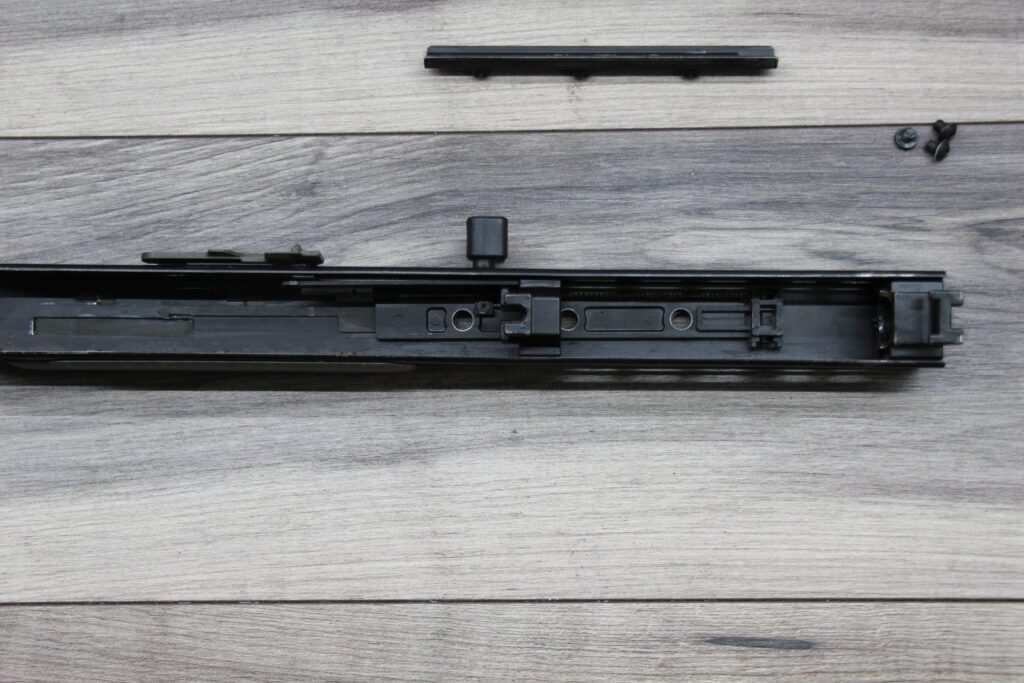
Locate the three bolts holding the sight rail onto the receiver and remove them. Keep the bolts in a safe space as they will be required to attach the EK3M sight rail.

Note this is the best state to paint the rifle, requiring only the removal of the bolt handle, dust cover and cheek rest to take the receiver down to its base part.
If planning to paint the TMH you’ll need to remove the gearbox, butt pad, pistol grip, trigger, safety and selector.
Assembling the EK3M Kit
Insert the Sight Rail into the three holes on the top of the receiver, with the notch facing forward.
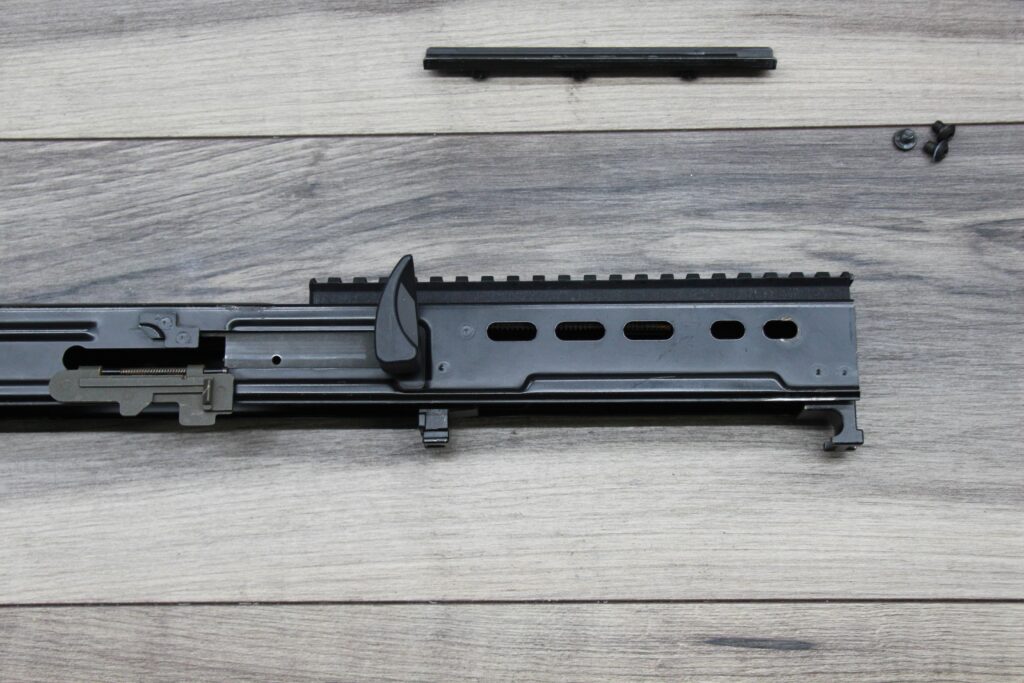
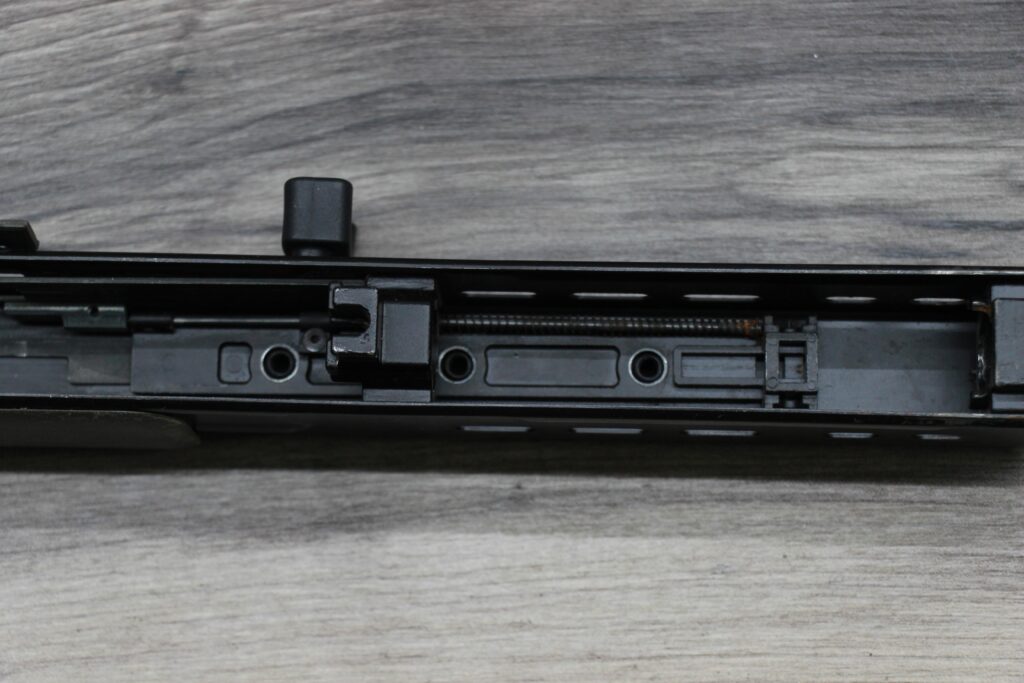
Ensure that the mock bolt plate is installed over the pins of the sight rail and then reinstall the three fixing bolts into the sight rail.
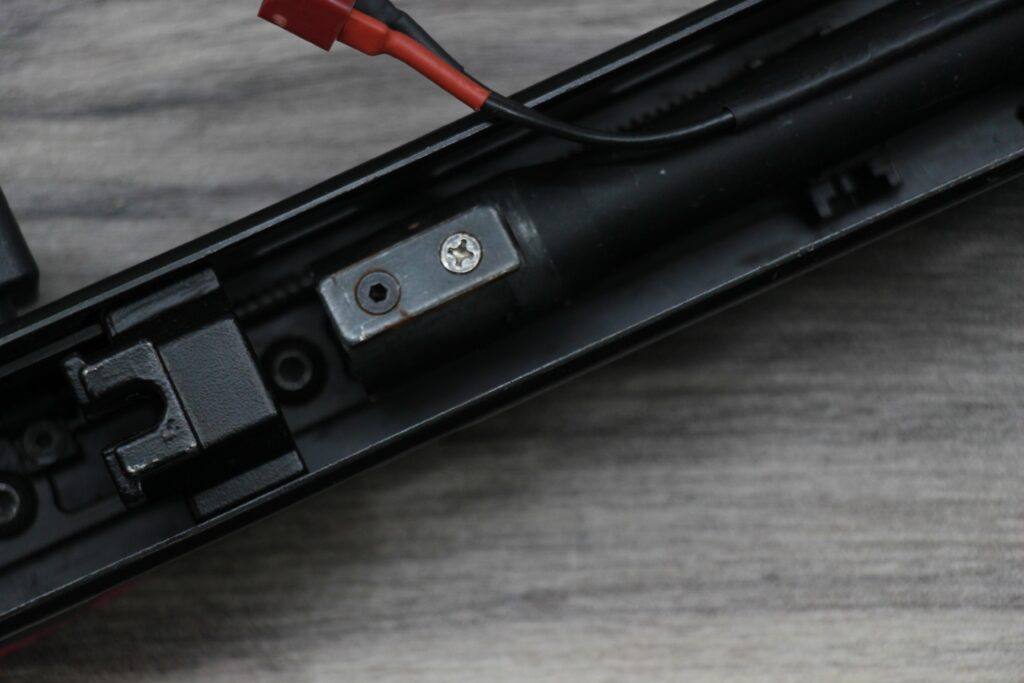
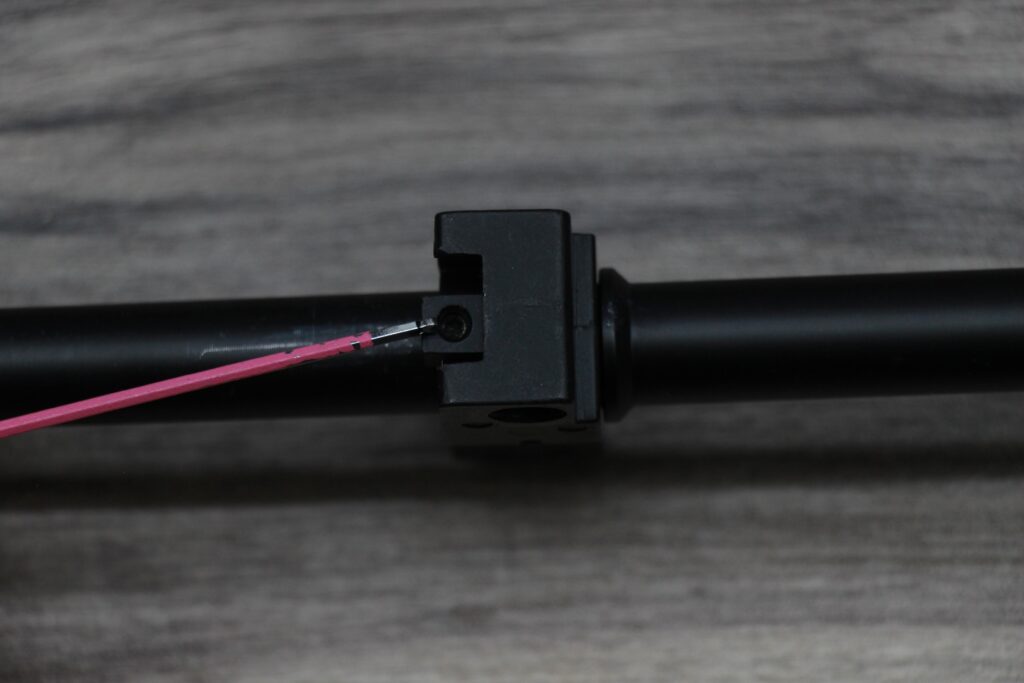
Install the EK3M receiver mounting block onto the front of the receiver and ensure you run your wire harness extension through the cut out.
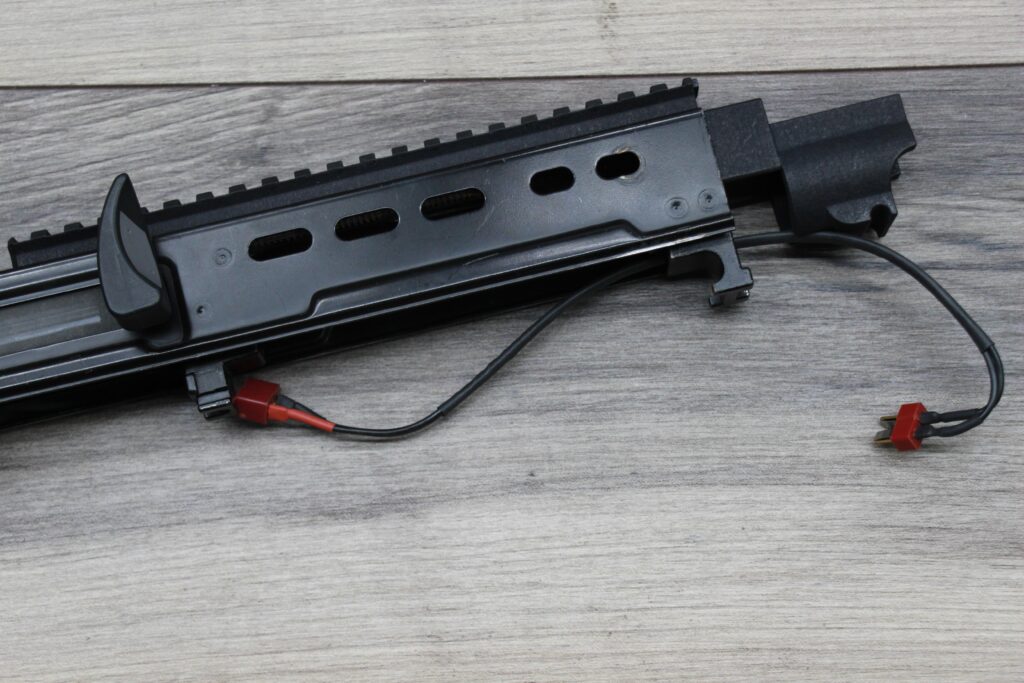
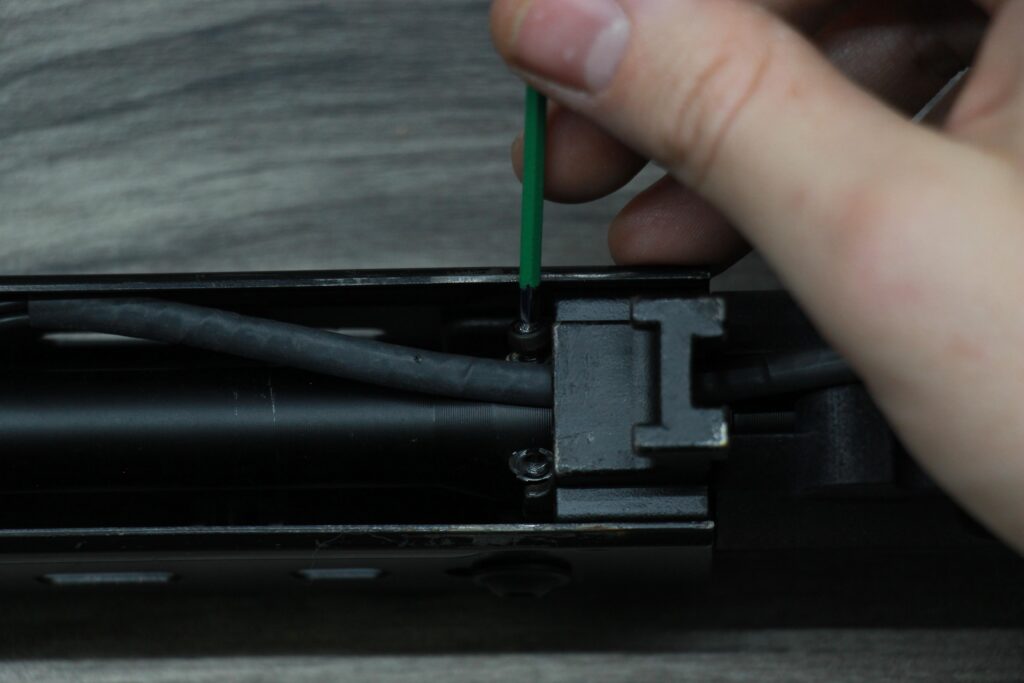
Screw the two flanged head bolts through the vent holes in the receiver and into the Receiver mount block.

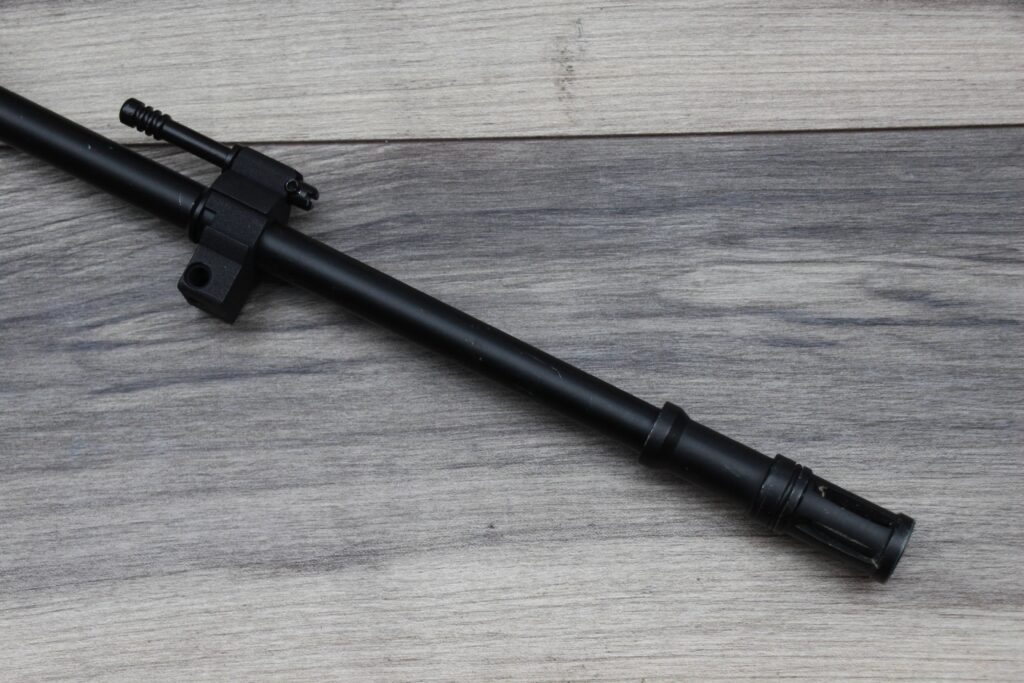
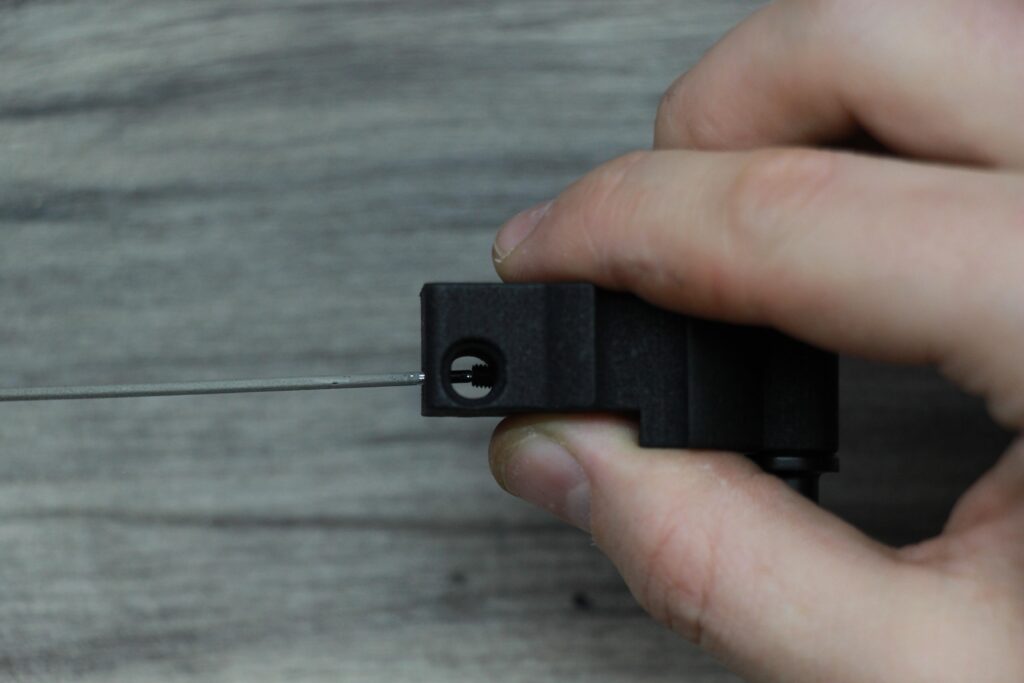
Now install the grub screw into the bottom of the EK3M gas block, not all the way, but enough so that the screw holds its place.
Slide the gas block onto the barrel and tighten down the grub screw until the gas block is held in place, don’t worry if its not perfectly straight as it can be adjusted once the barrel is reinstalled into the receiver.

Re-remove the plate and fastening bolts from the barrel and insert the barrel into the receiver through the mounting block.

Re-attach the plate, slot the inner barrel retention clip into its slot and slide the barrel back into the rear trunnion. Then re-install the two barrel fastening bolts.
The bolt under the rear trunnion can also be loosened until resistance is met, ensuring the barrel is held firmly to the rifle.

Now that the barrel has been re-installed, the flash hider can be re-attached and the gas block can be straightened.

The inner barrel and hop up unit can now be re-installed.

And the TMH re-attached.
Finally the EK3M handguard can be slid over the gas block

and onto the receiver mount until the handguard sits flush with the receiver. Then the slotted hex bolt installed to attach the handguard in place.

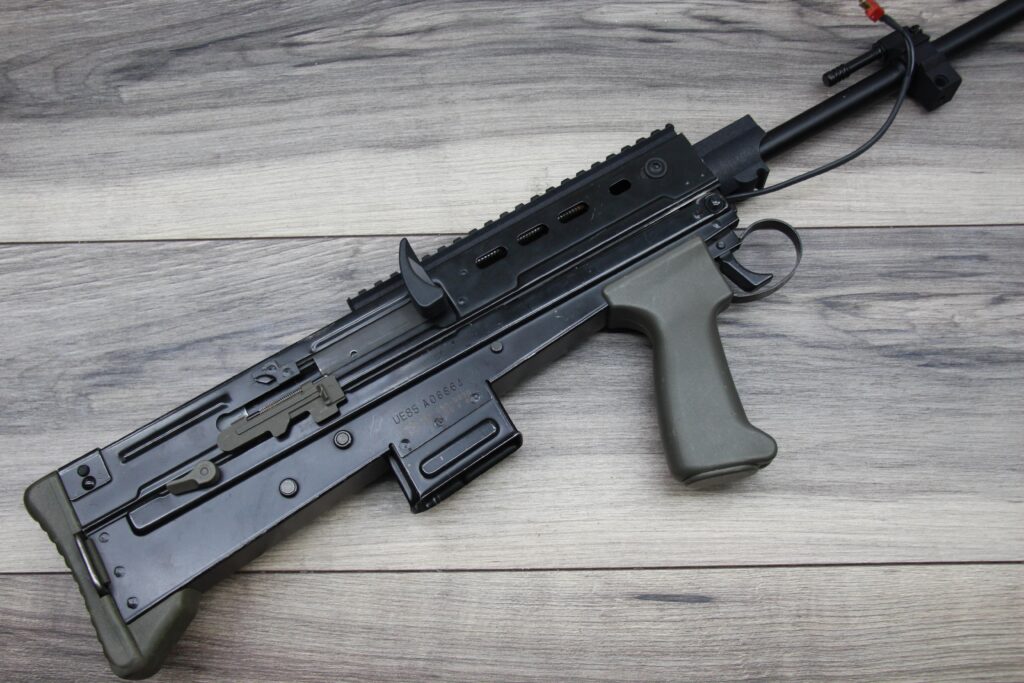
And that’s it! The EK3M Kit is installed!