
This page covers the installation process for the EK3M kit onto a ICS L85.

Note that I use both an ICS L86 and a ICS L85 to show the conversion process as I am using the already converted L85 and do not have all the original parts.
Check the kit and ensure you have the following items:
- The EK3M Handguard
- The Sight Rail
- The Receiver Mounting Block
- The EK3 Gas Block
- The bag of fasteners

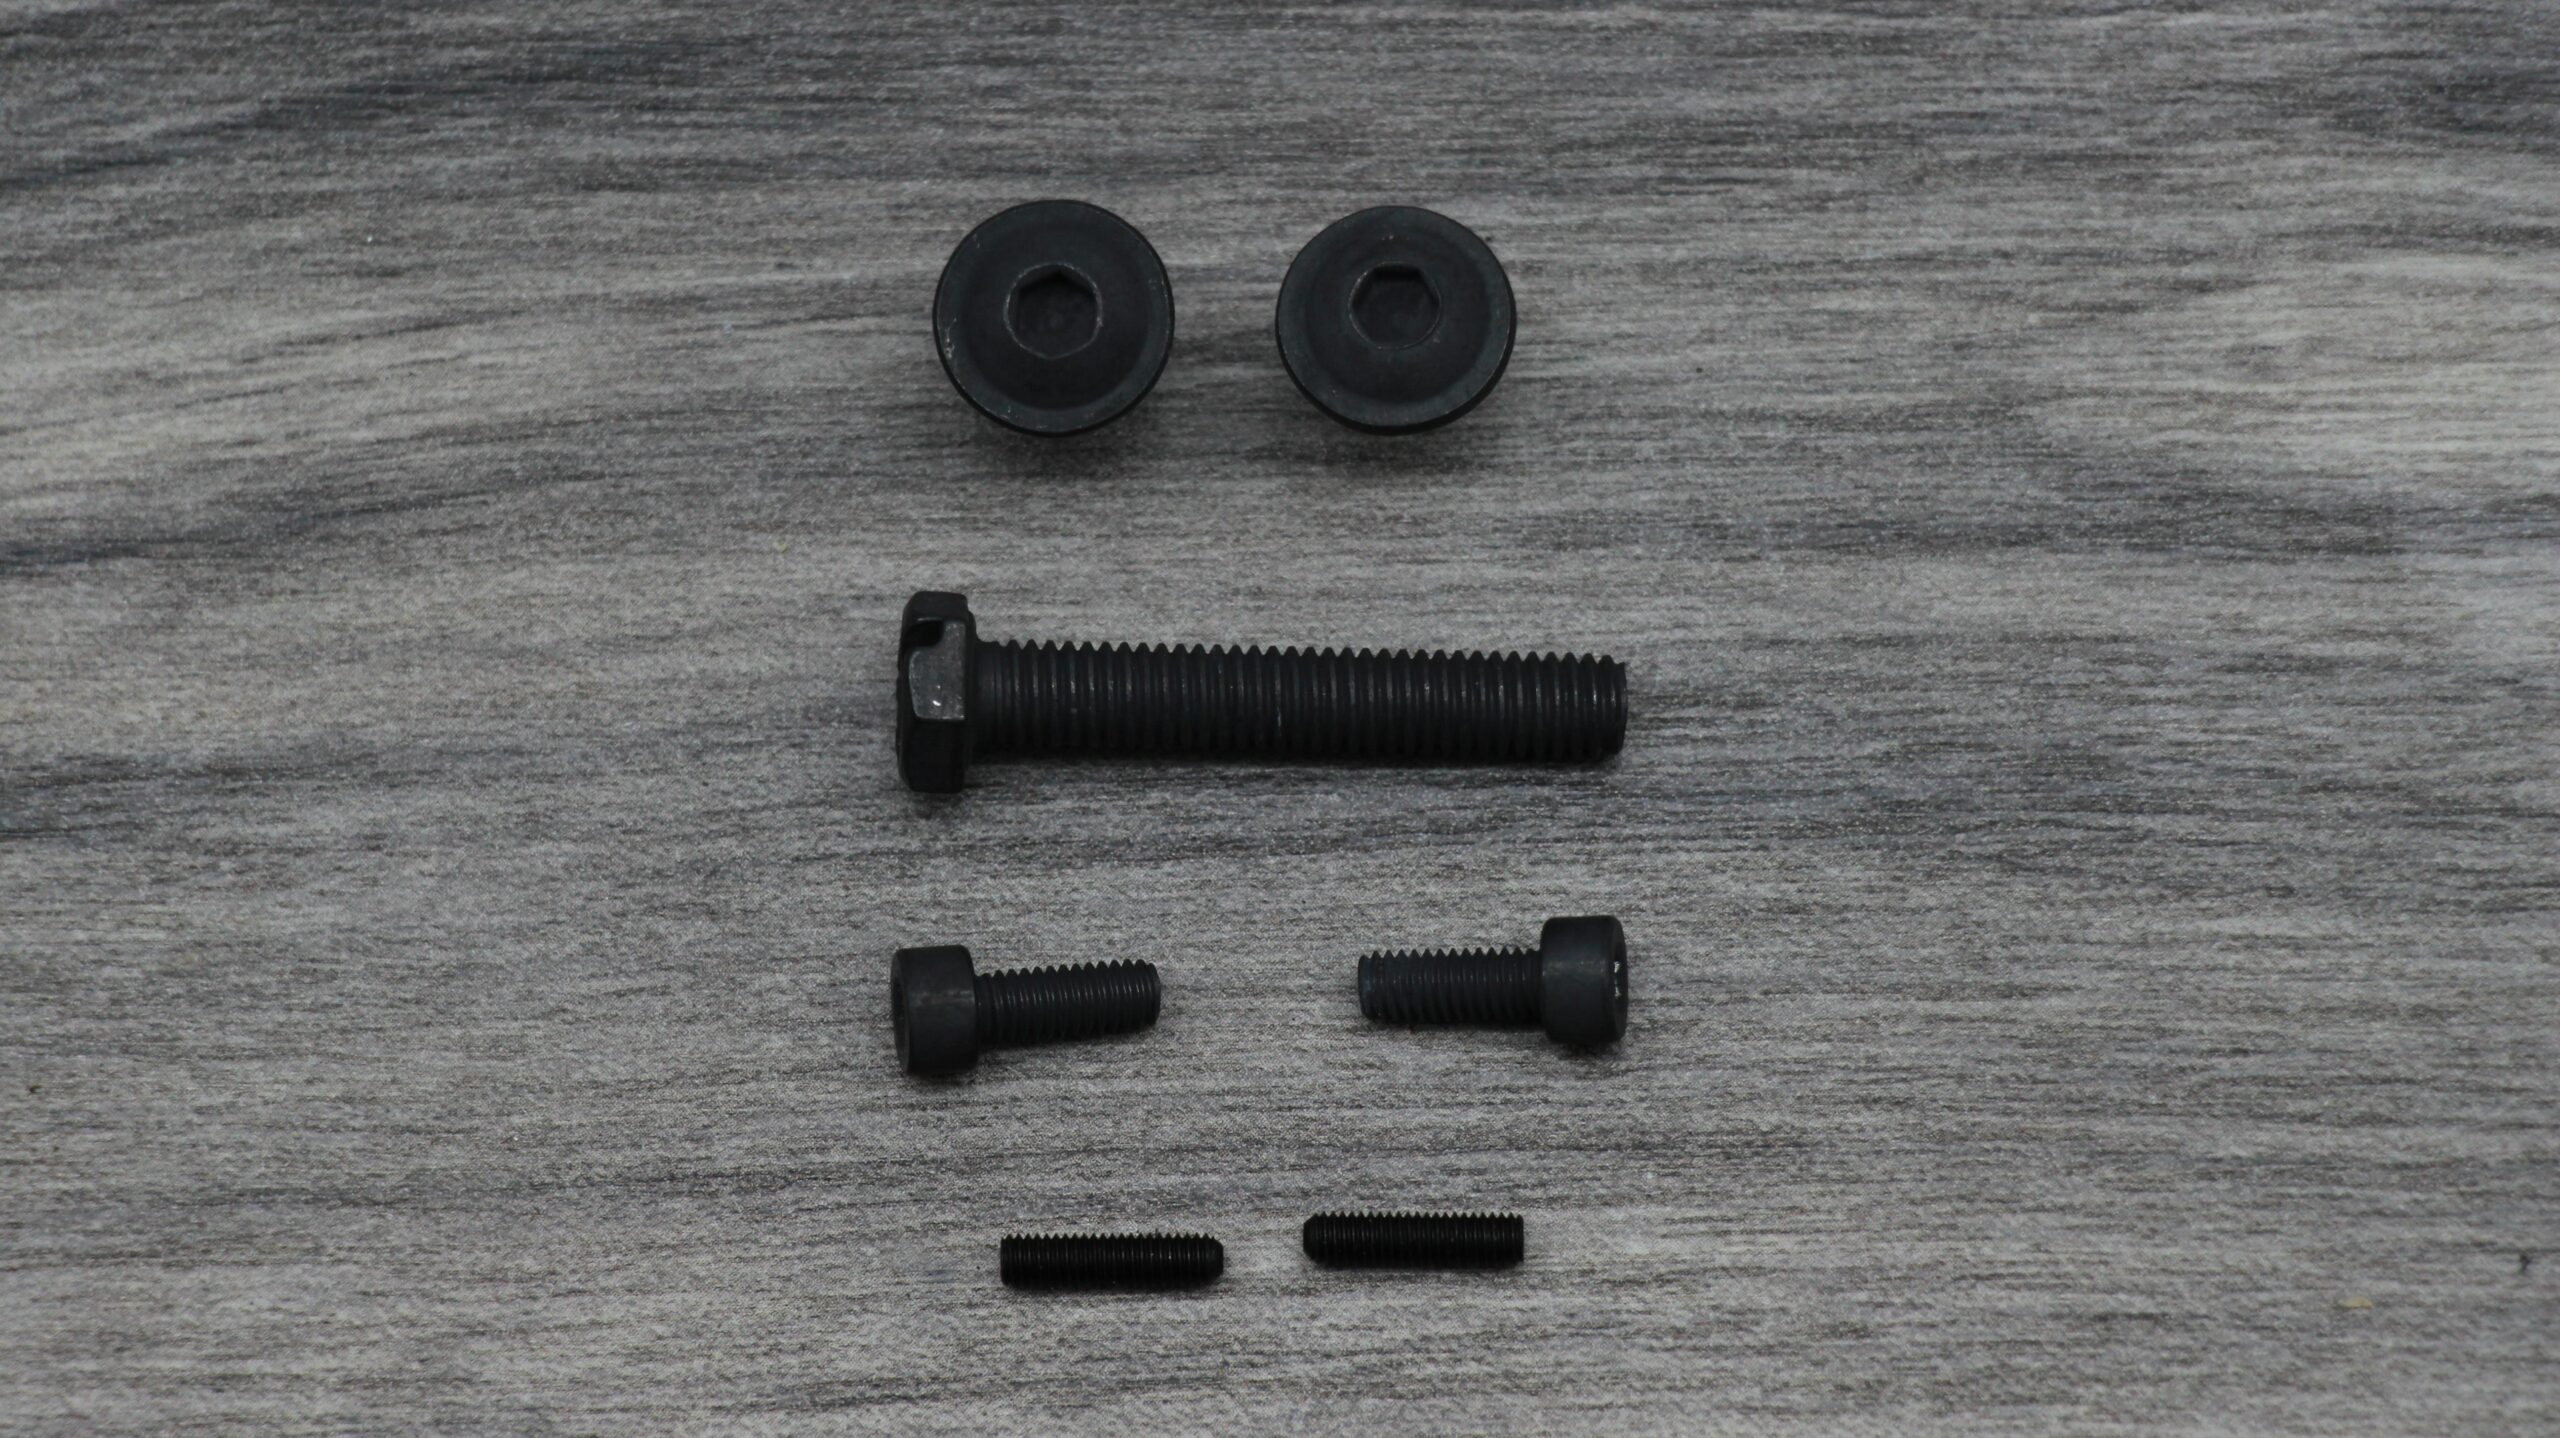
In the bag of fasteners their should be:
- 1x Handguard Fastening Slotted Hex Head Bolt
- 2x Receiver Mounting Block Flanged Head Bolts
- 2x Sight Rail Bolts
- 2x Gas Block Grub Screw
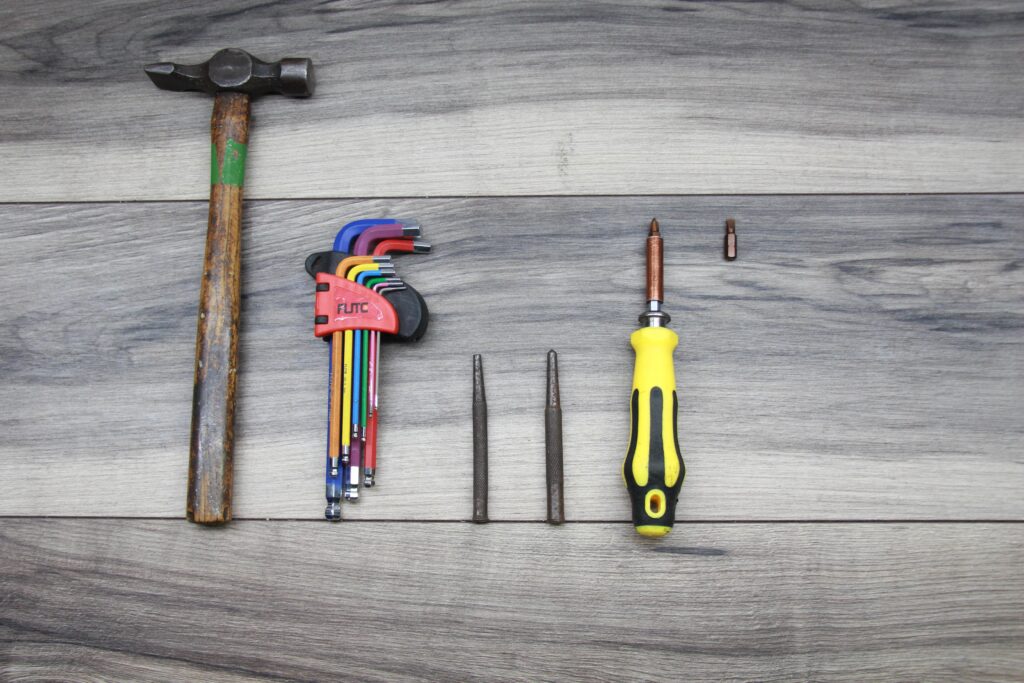
You’ll also need some tools to carry out this install:
- An Allan Key Set
- A Cross Head Screw Driver
- A Flat Head Screw Driver
- A Punch Set
- A Hammer
If you don’t have a punch set you can use other similarly sized objects as the pins that need removing, but I recommend getting a set, such as this one from screw fix.
Striping Down the Rifle
Make sure the weapon is clear, no magazine is installed and the battery is disconnected. Then start by removing any sights attached and the presently installed handguard. If you have the mock working parts installed, remove them as well.
Remove the rear body pin and remove the butt pad and rear sling loop from the rifle.
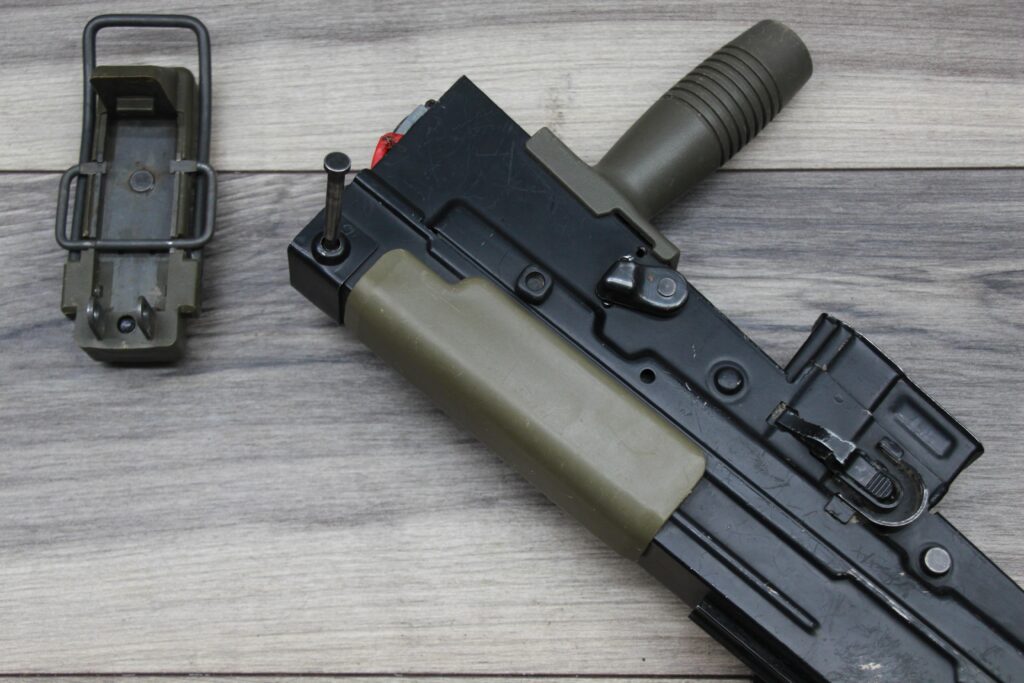
Remove the front body pin and hinge the TMH (Trigger Mechanism Housing or lower receiver to you lot across the pond!) up and off of the receiver.

Disconnect the motor wires and remove the gear box from the receiver.
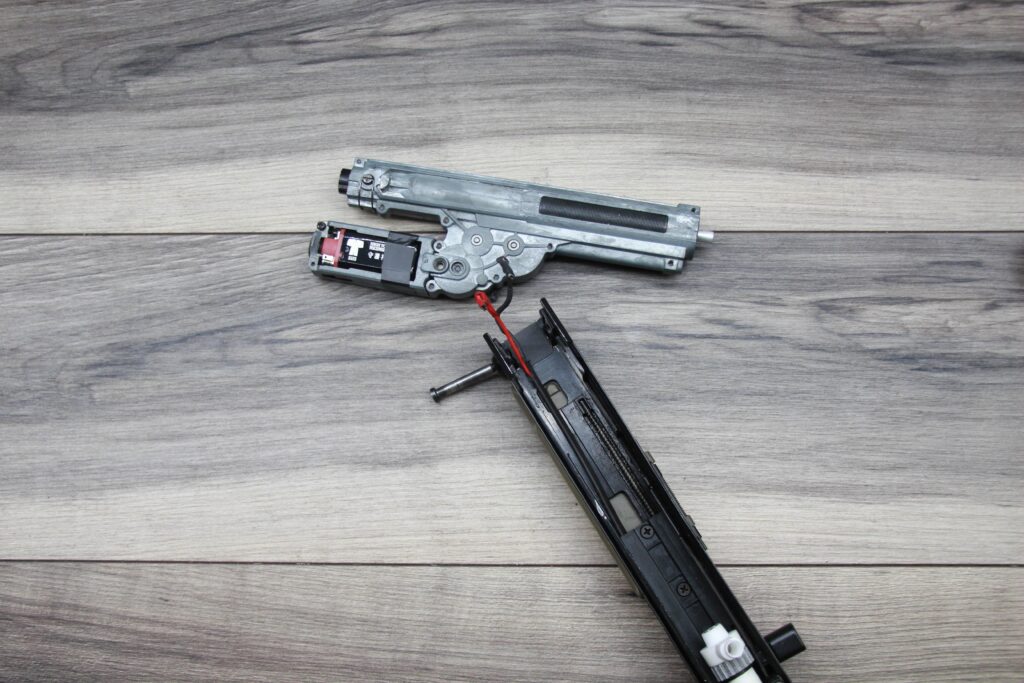
Remove the inner barrel and hop unit.

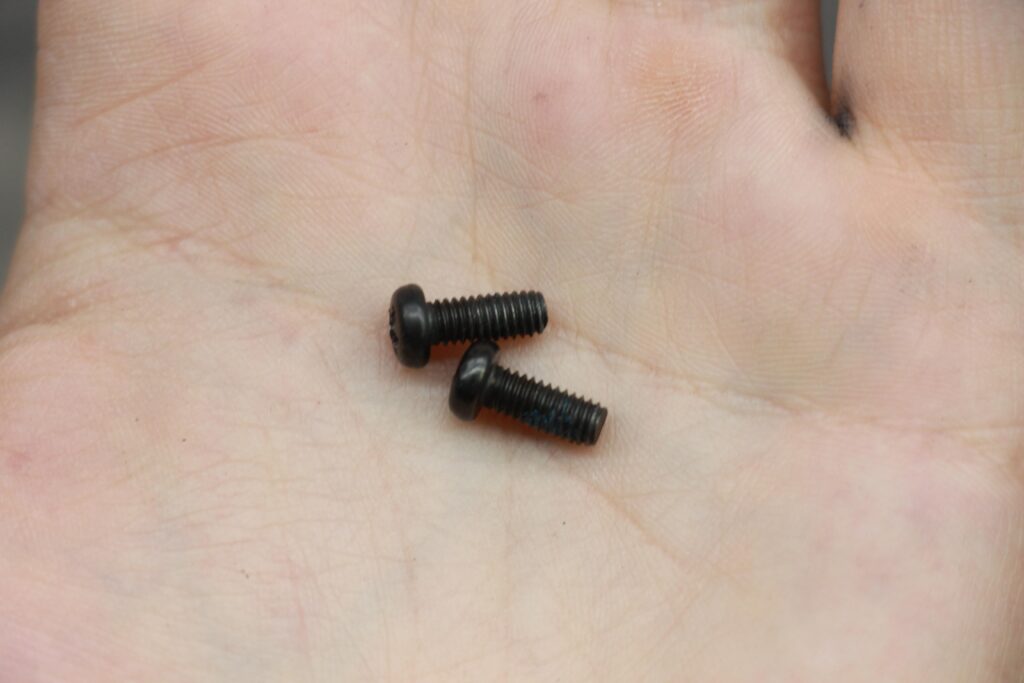
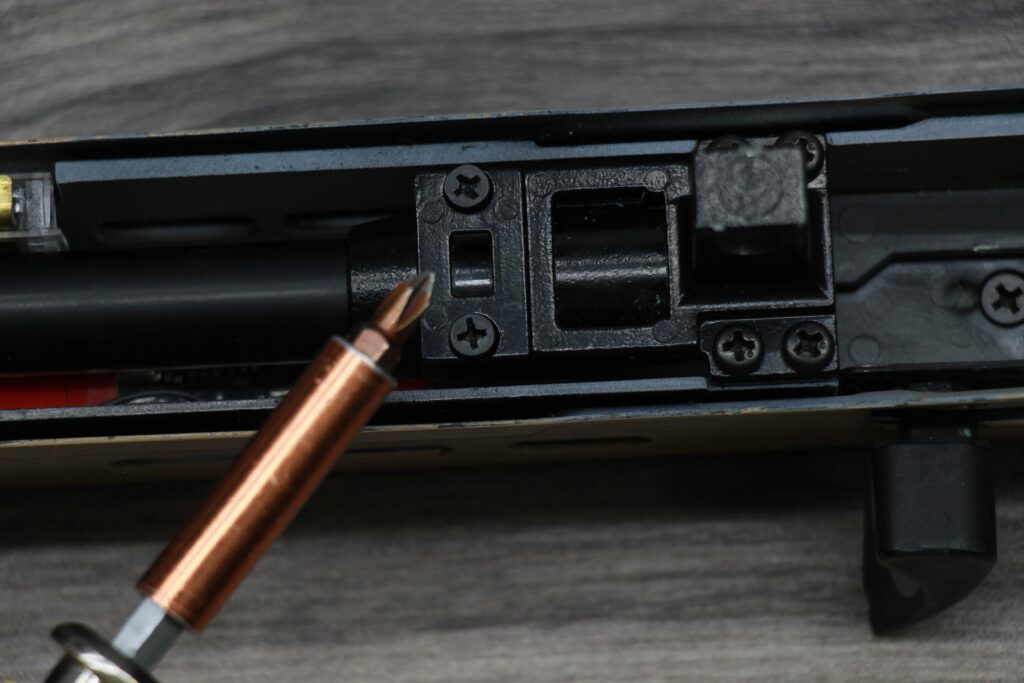
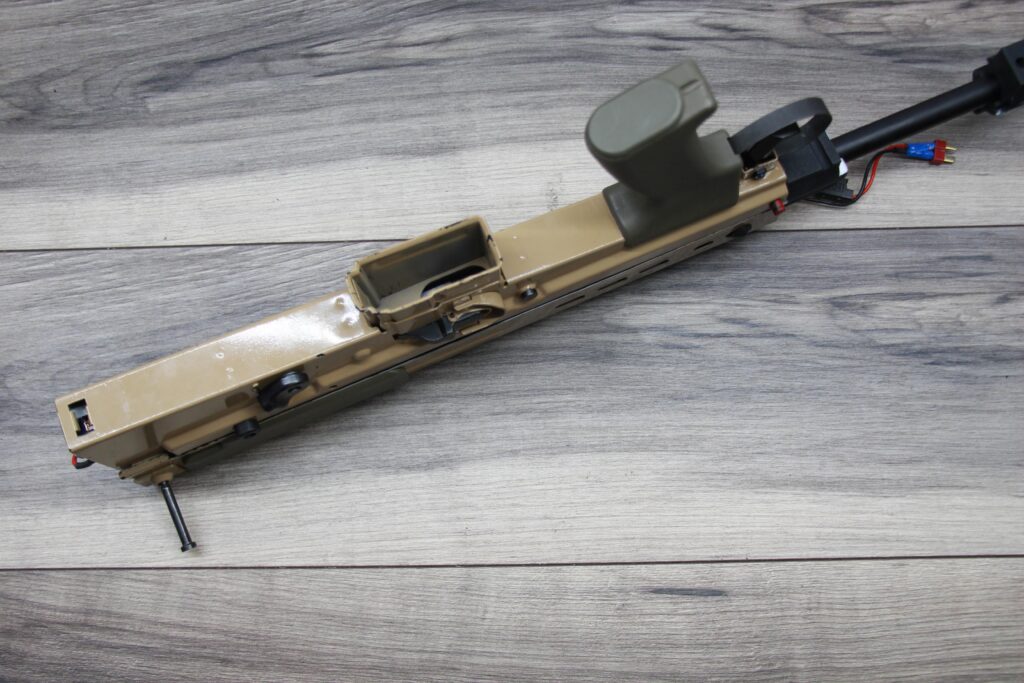
Now the forward barrel clamp can be removed by unscrewing the two bolts on the underside of the receiver.
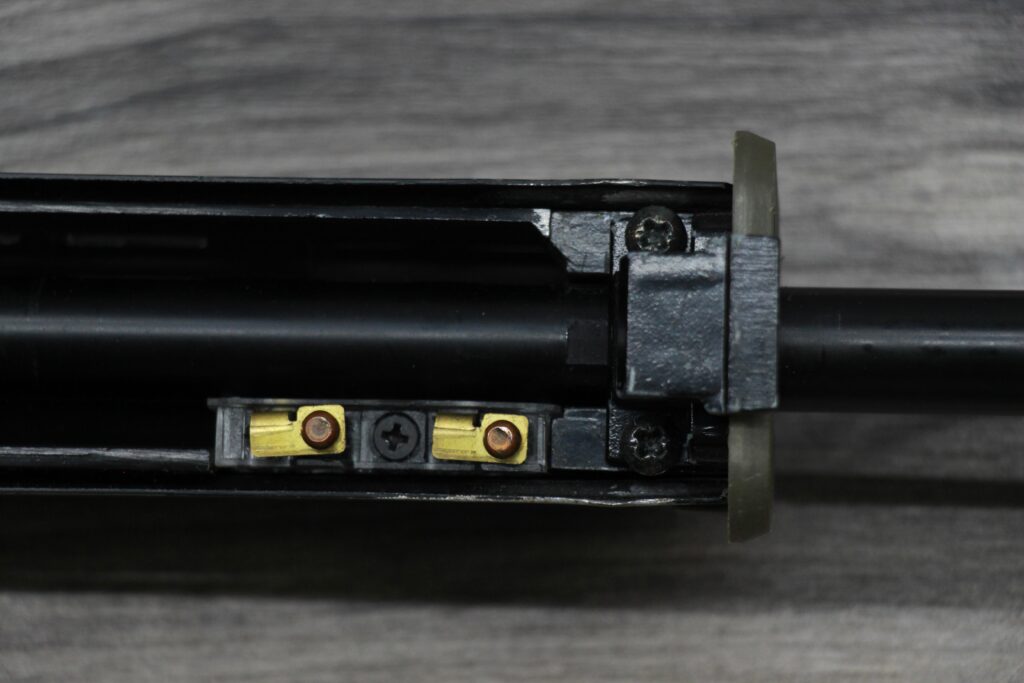
These screws need to be put safely to one side as these will be needed to install the EK3M kit.
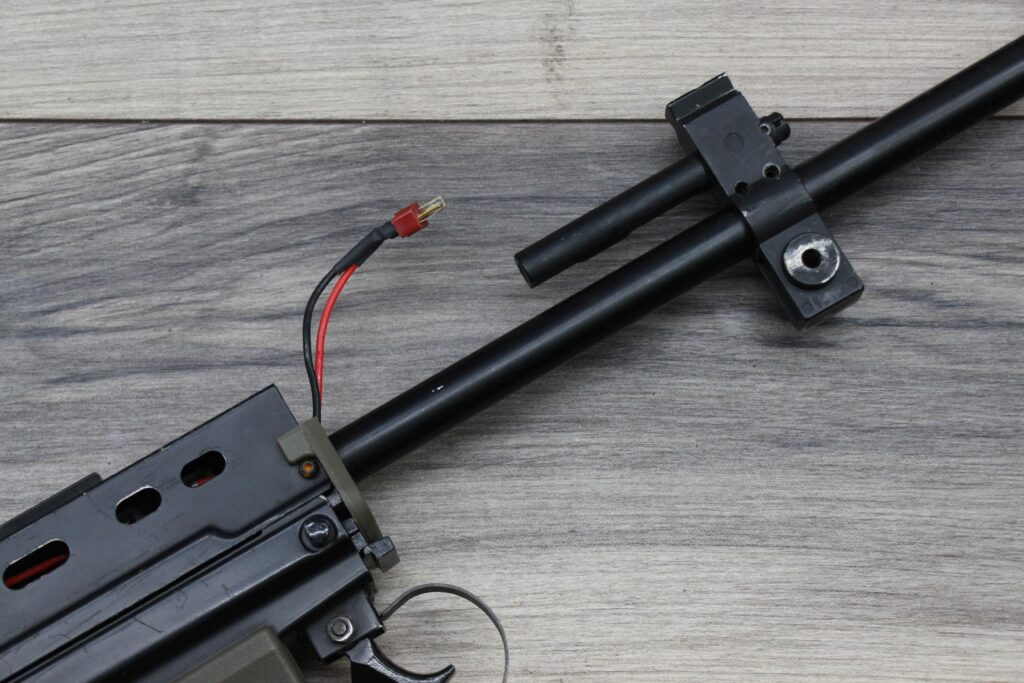
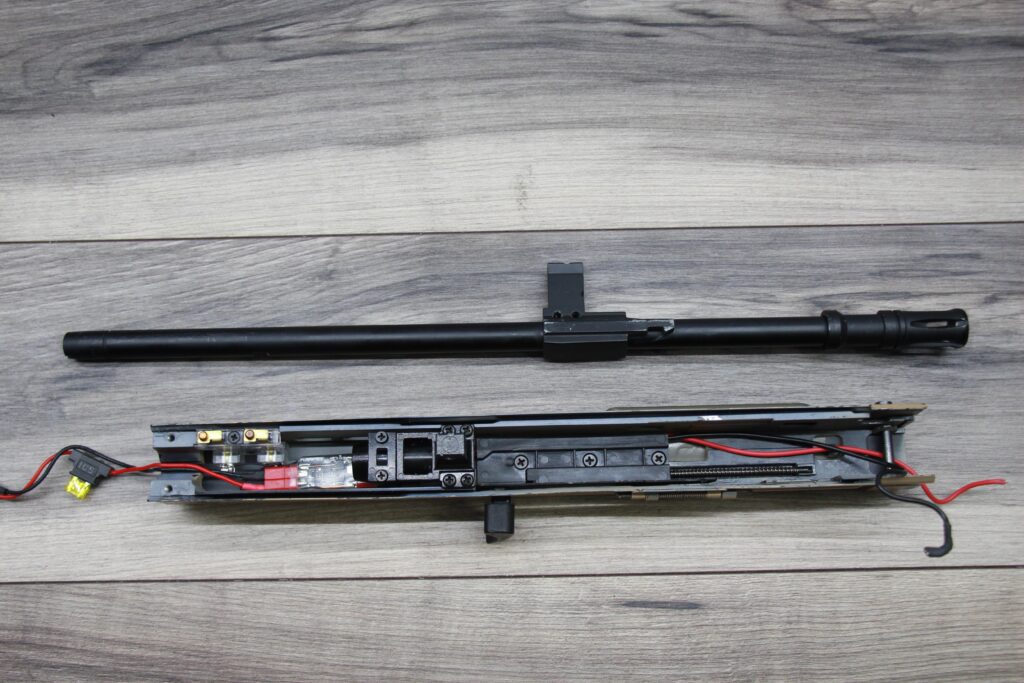
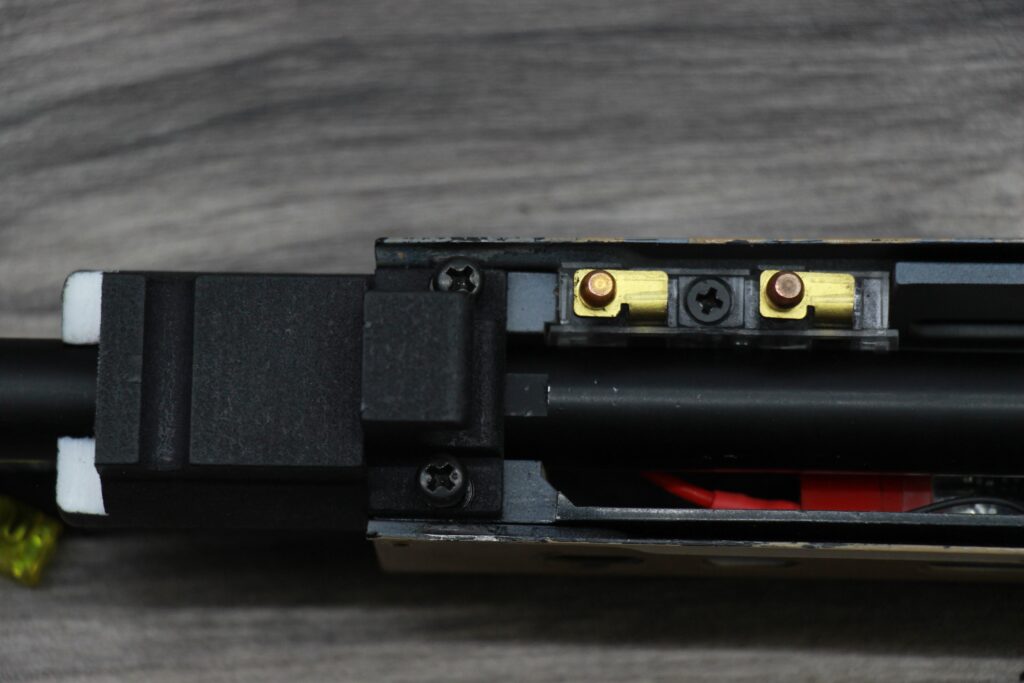
The rear barrel clamp can then be released by slightly loosening of its two screws.

The barrel can then be slid forward and out of the receiver.
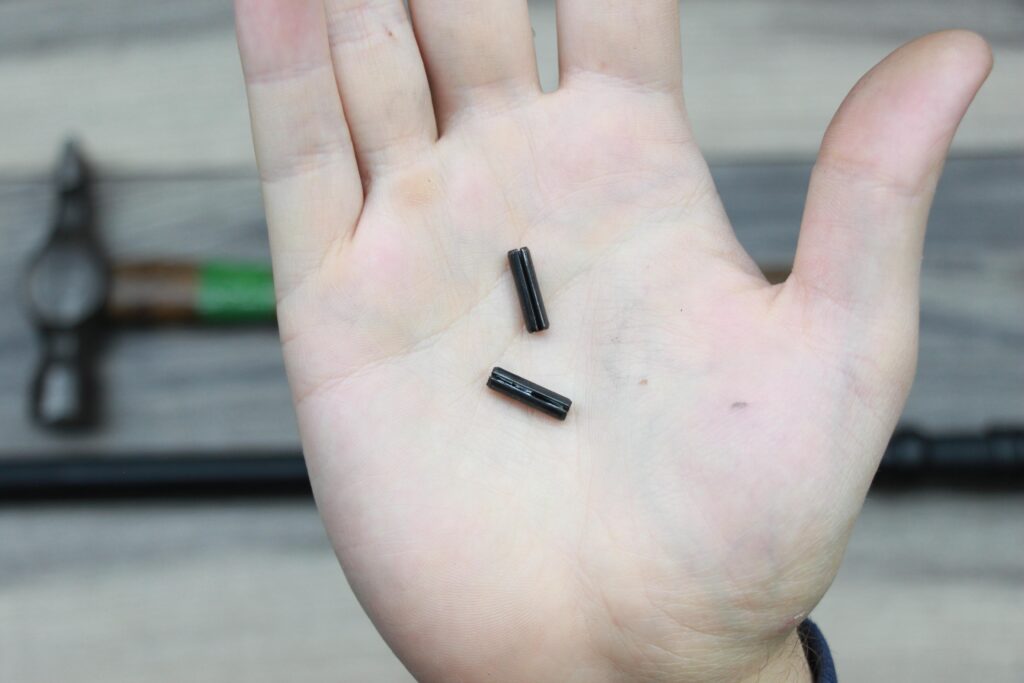
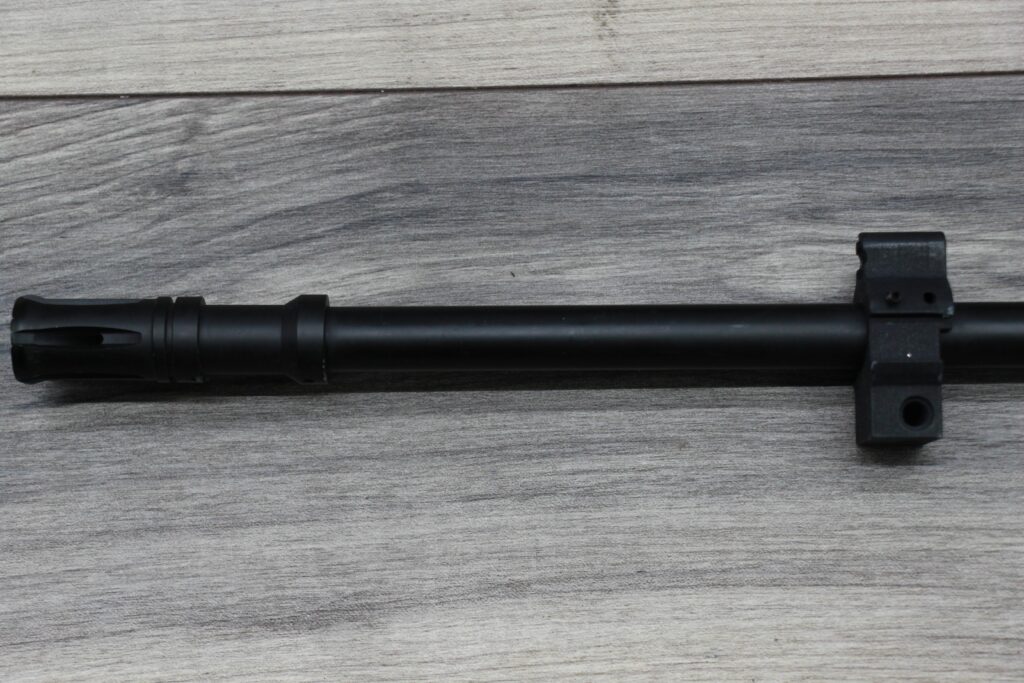
The roll pins holding the gas block need to be removed using the punch and hammer.

Once the roll pins are removed keep them safe as you’ll need them to re-attach the gas block if you ever wish to convert your rifle back to A2 spec.
If you wish to install your mock gas parts with the EK3M kit, you’ll also need to remove the gas plug as well by pushing in the spring plunger and sliding the plug out of the block.
Assembling the EK3M Kit
partially screw the included two grub screws into the EK3M gas block. I recommend putting both inline on the block with one either side of the block.

slide the gas block onto the barrel, ensuring the flat side of the block faces towards the muzzle. Align the block with the two notched on the top of the barrel and tighten down the grub screws to fasten the gas block into place.
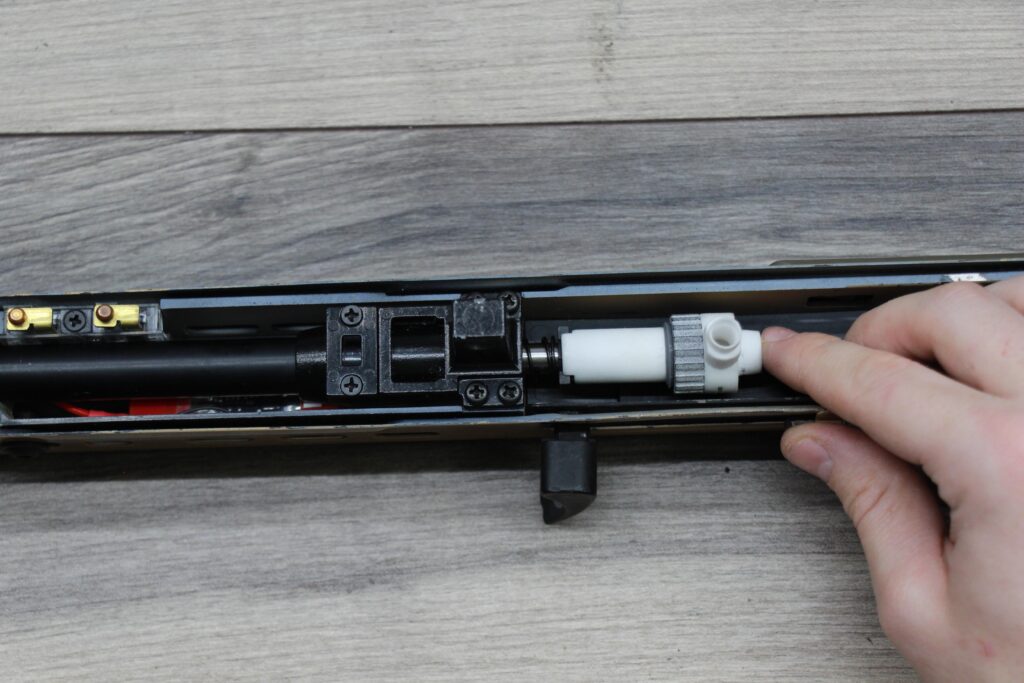
Now slide the receiver mounting block onto the barrel, with the locking tongues facing rewards.
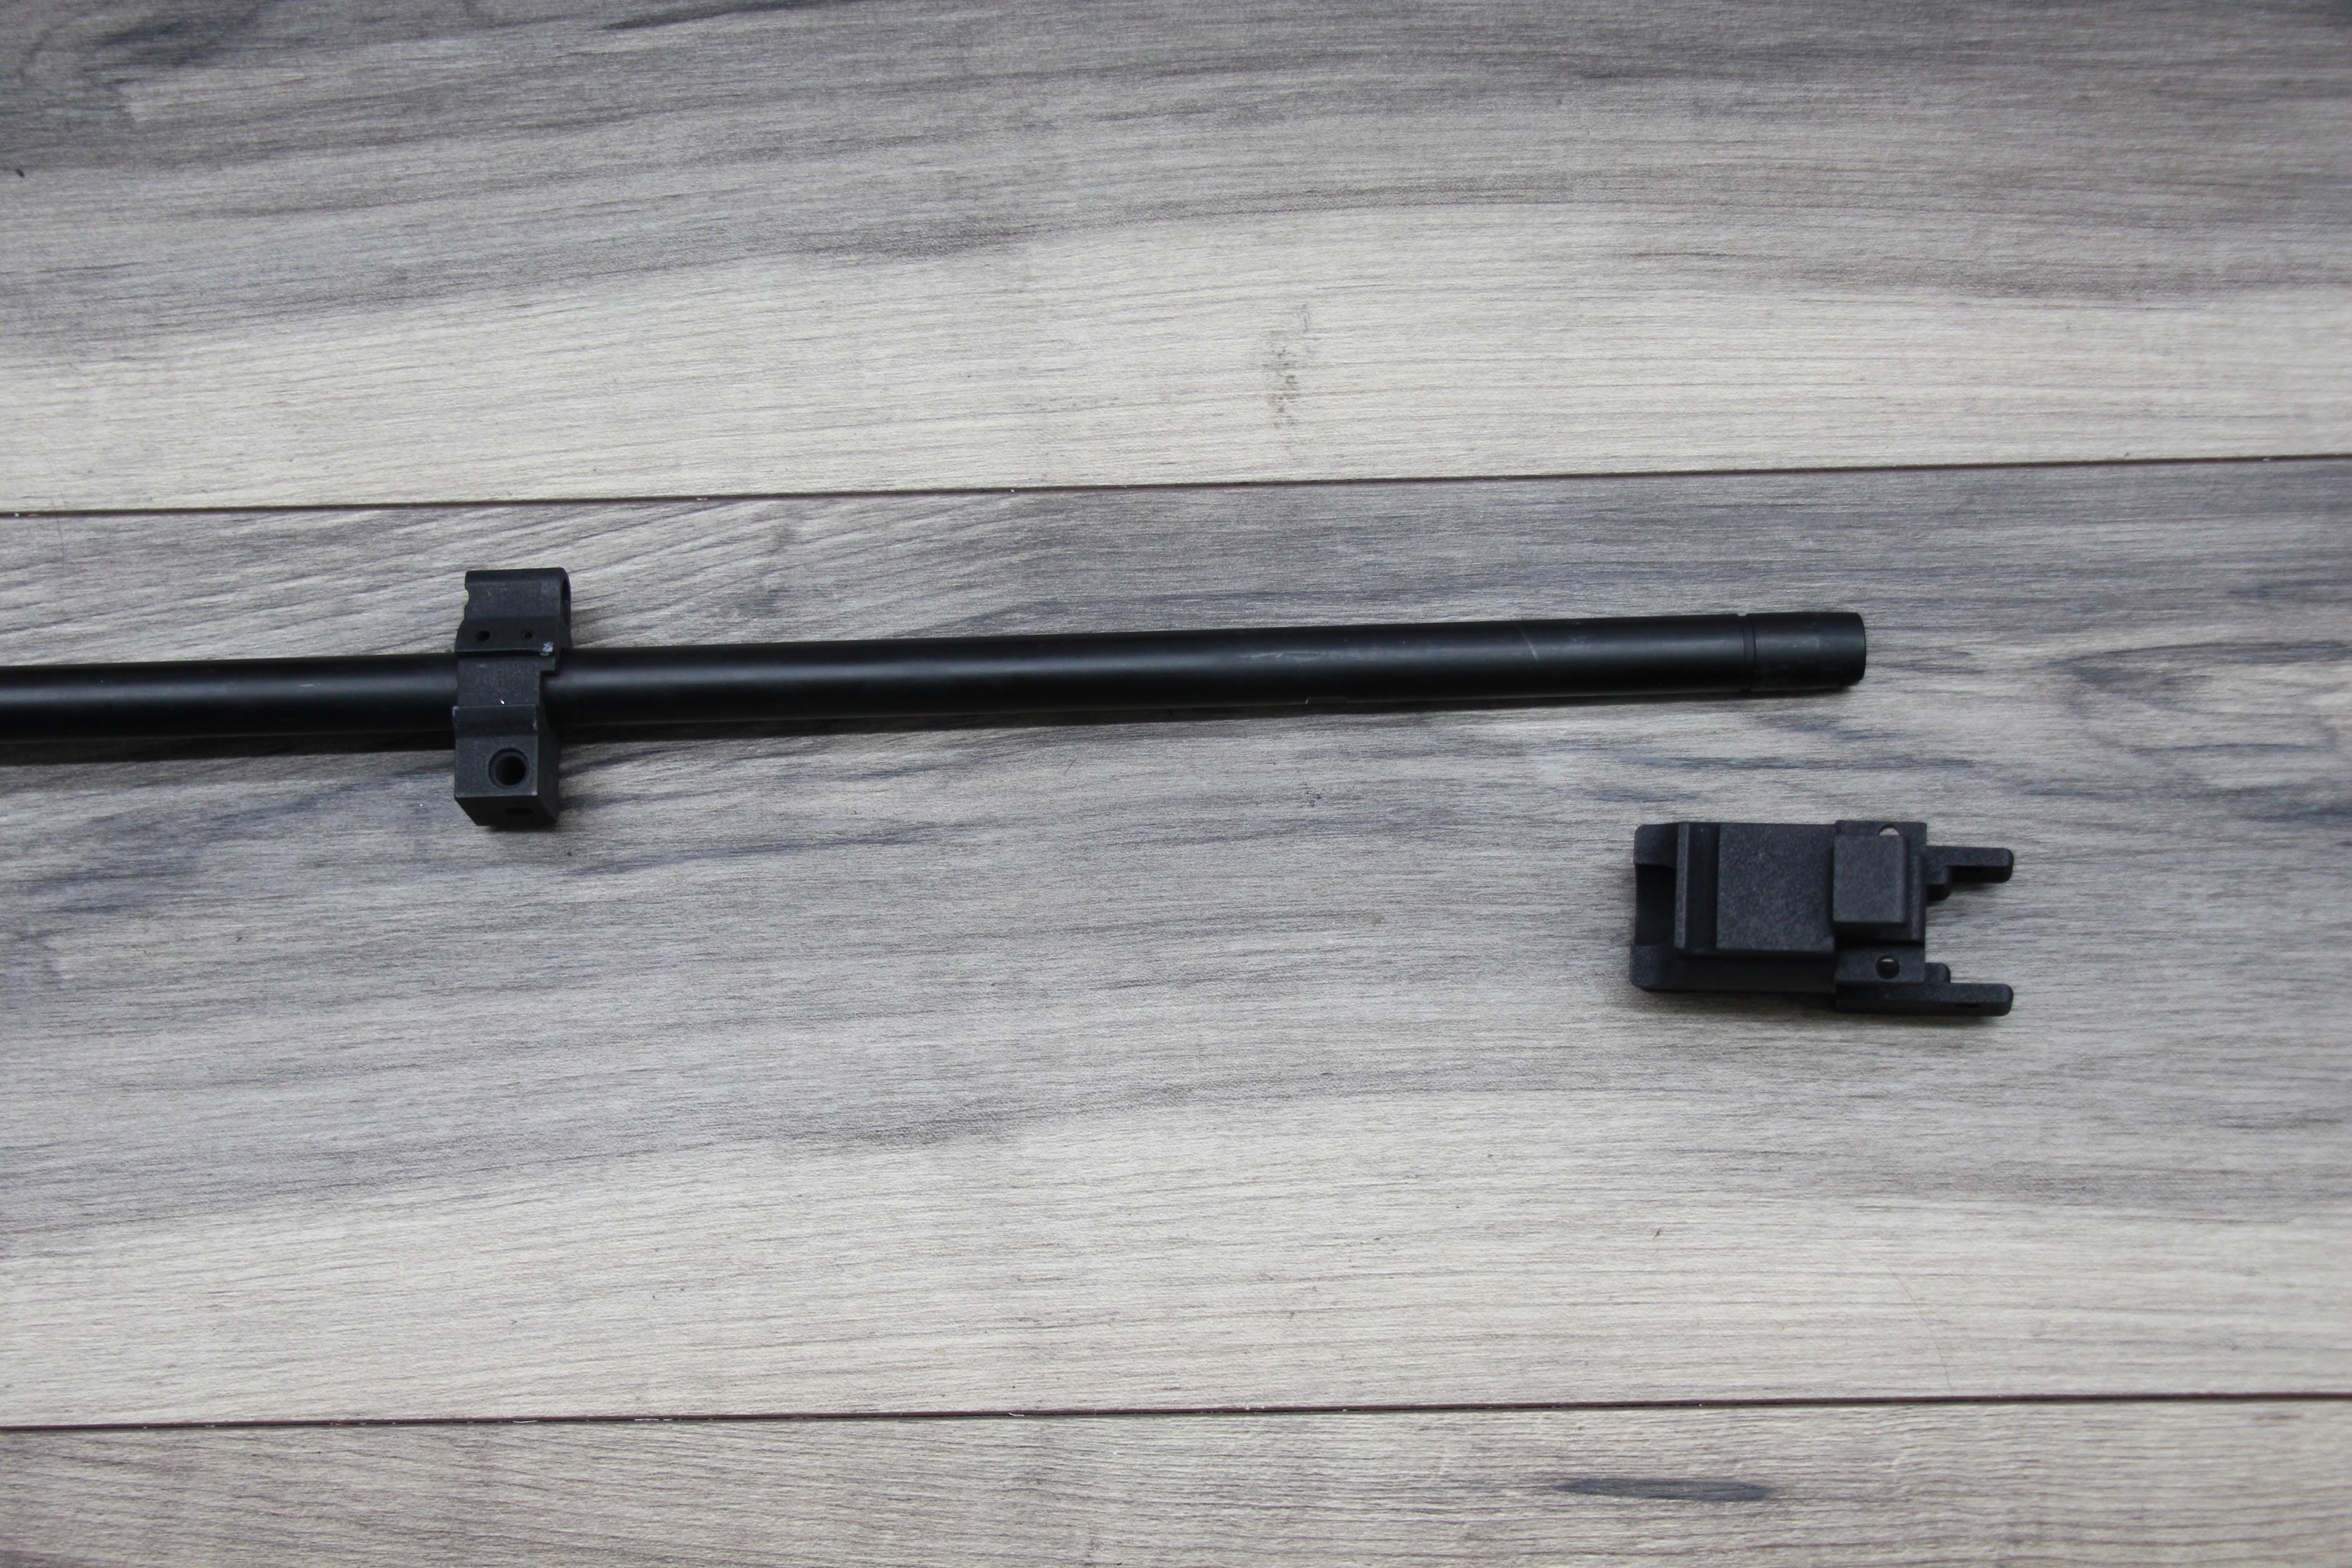
The barrel assembly can then be re-installed onto the receiver and the mounting block slid into place. Note the one shown from now on is the initial prototype block.
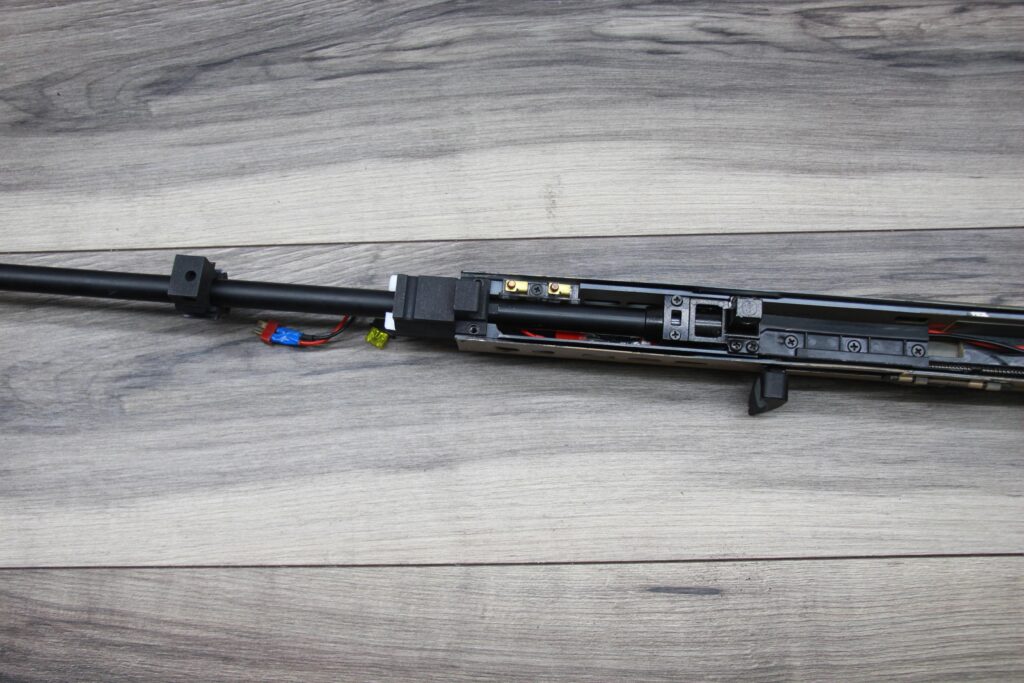
The barrel clamp can now be fastened down by tightening the two screws.
The mounting block can then be held in place by using the two screws from the forward clamp that we put aside earlier.
The two Flanged head bolts can then be screwed into the mounting block through the holes either side of the receiver.

The top sight rail can be removed by loosening off the two screws holding it in place and lifting it off.
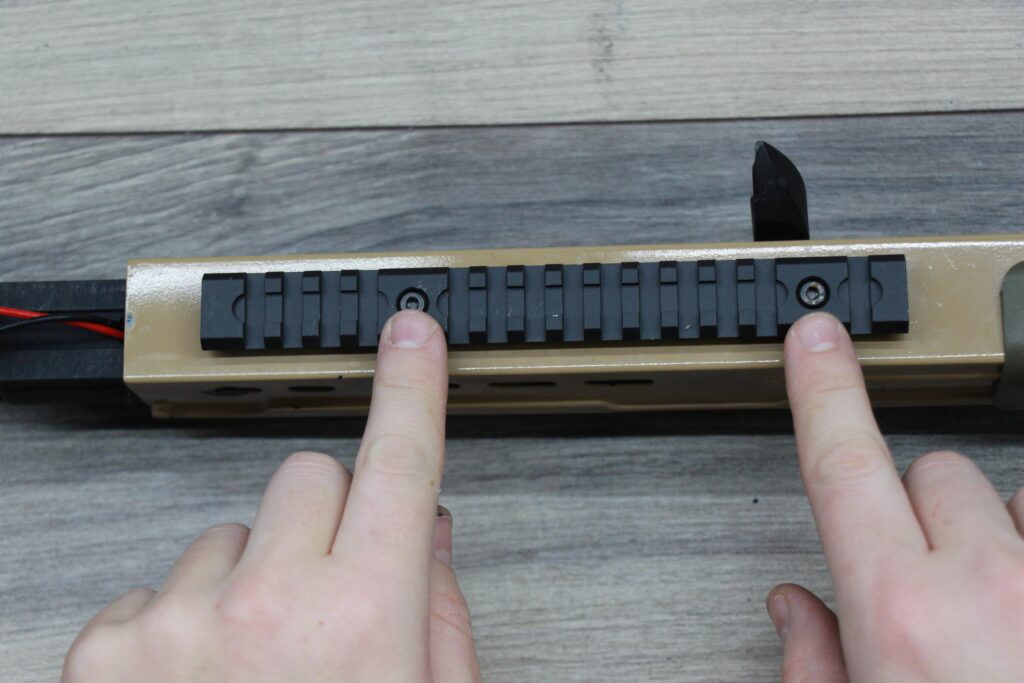
The EK3M sight rail can then be attached, with the indexing lug facing forward, using the two bolts supplied with the kit.

The Inner Barrel and Hop unit can be re-installed.
Then the gearbox can be reinserted into the receiver and the motor connectors hooked up.

The TMH can then be hinged back into place and the forward body pin reinstalled.
The butt pad and sling loop can then be installed, ensuring the sling loop is correctly oriented.

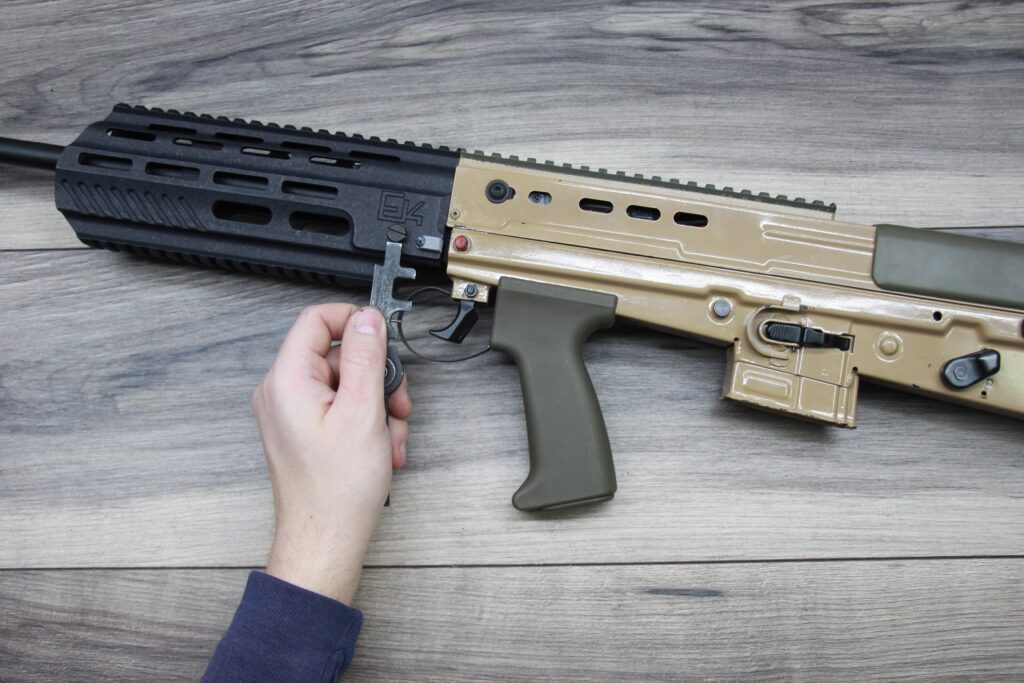
The EK3M hand guard can then be slid over the gas block
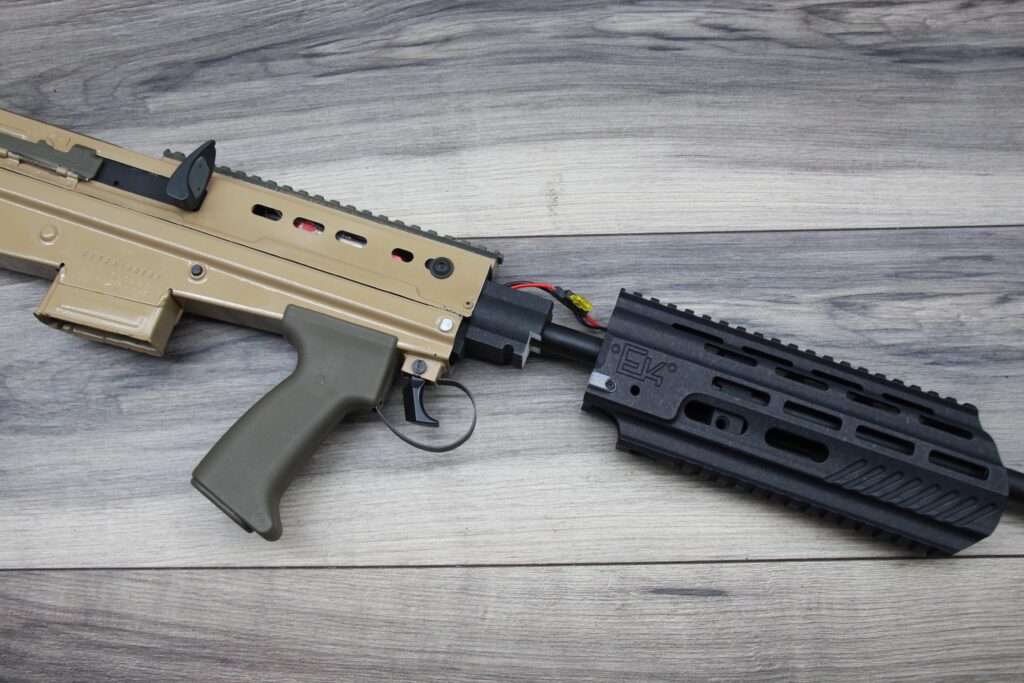
and onto the receiver block, until the hand guard butts up against the receiver. Then the slotted hex head bolt can be fitted to hold the handguard onto the rifle.
And that’s it, The EK3M kit is installed on your ICS rifle!