
Installing the English Kiwi Hop Up couldn’t be simpler! Just remove your old hop unit and slip on the new one, however just in case, here’s a guide to switching the two.
Removing the current hop unit
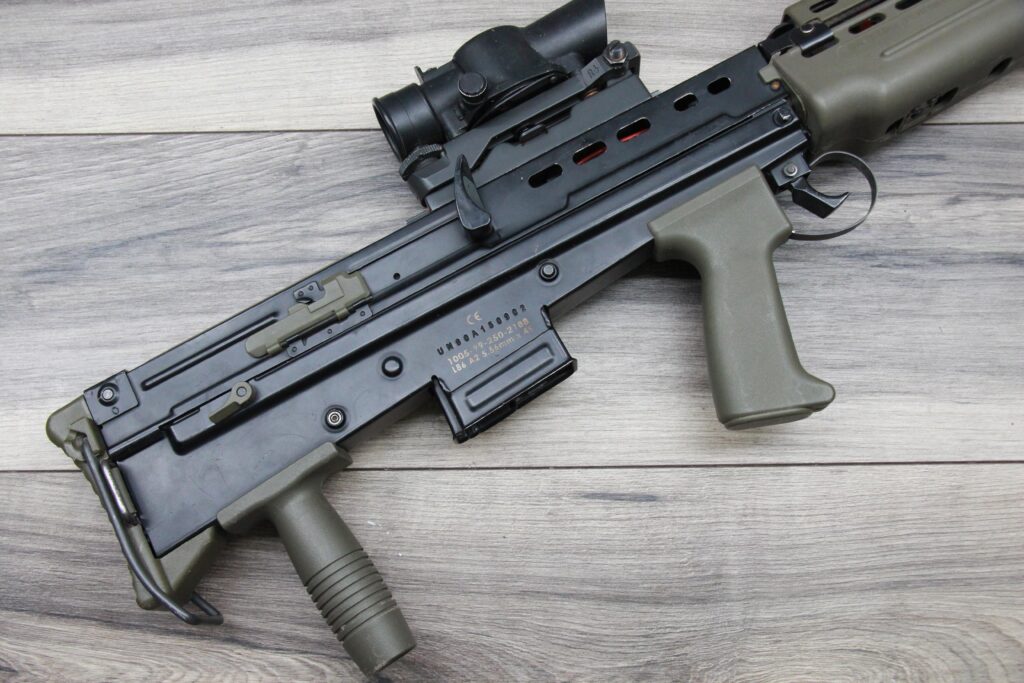
First things first, we need to split the TMH off of the receiver.
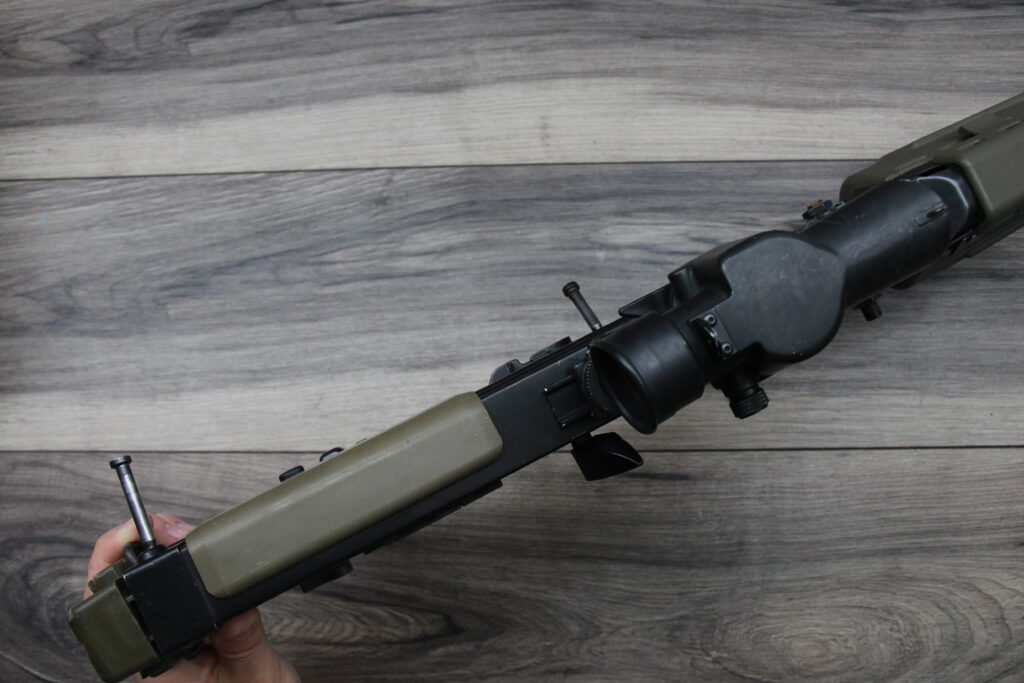
Start by popping out the two body pins and removing the butt plate off of the rifle.

Note that you may need to unscrew the motor retention screw a piece on the butt plat to do this. Also make sure you don’t loose your butt plate sling loop!
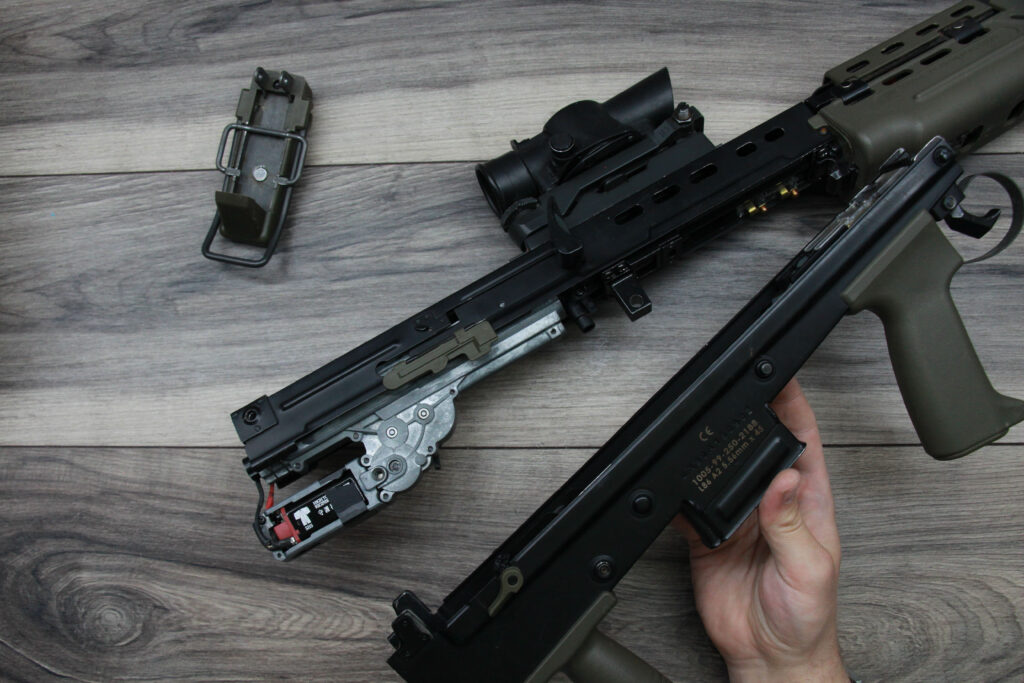
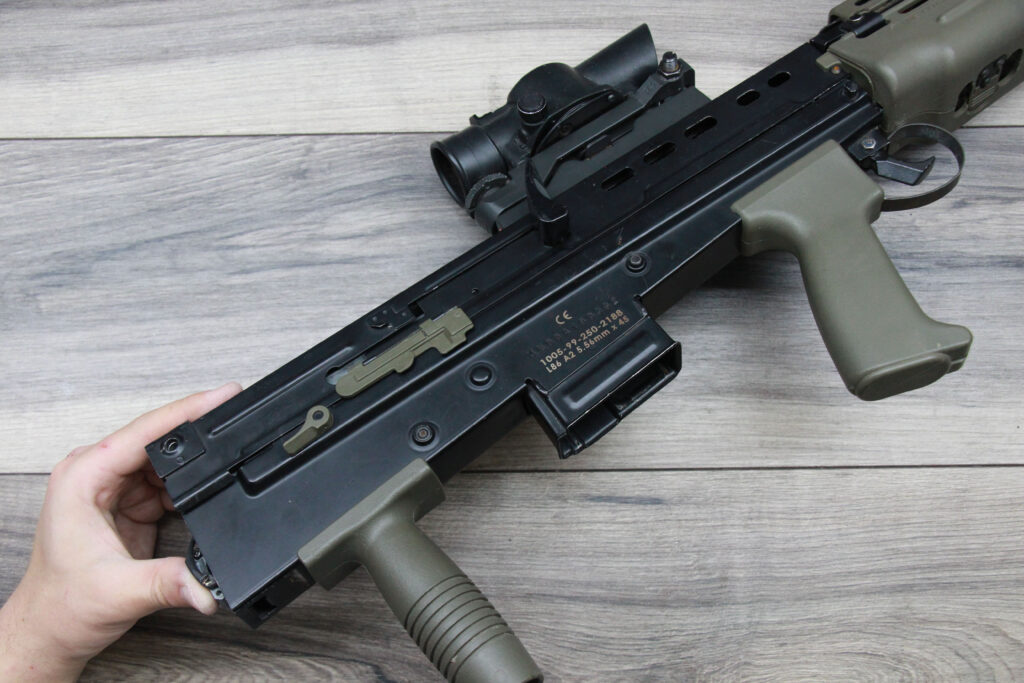
Now the TMH can be hinged forward and off of the receiver.
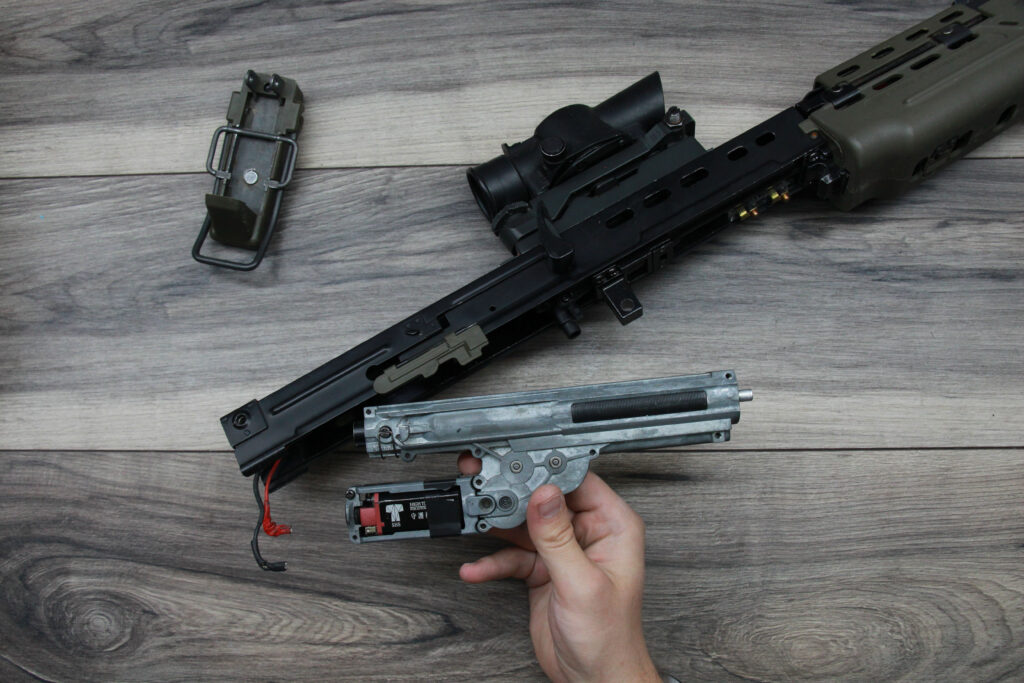
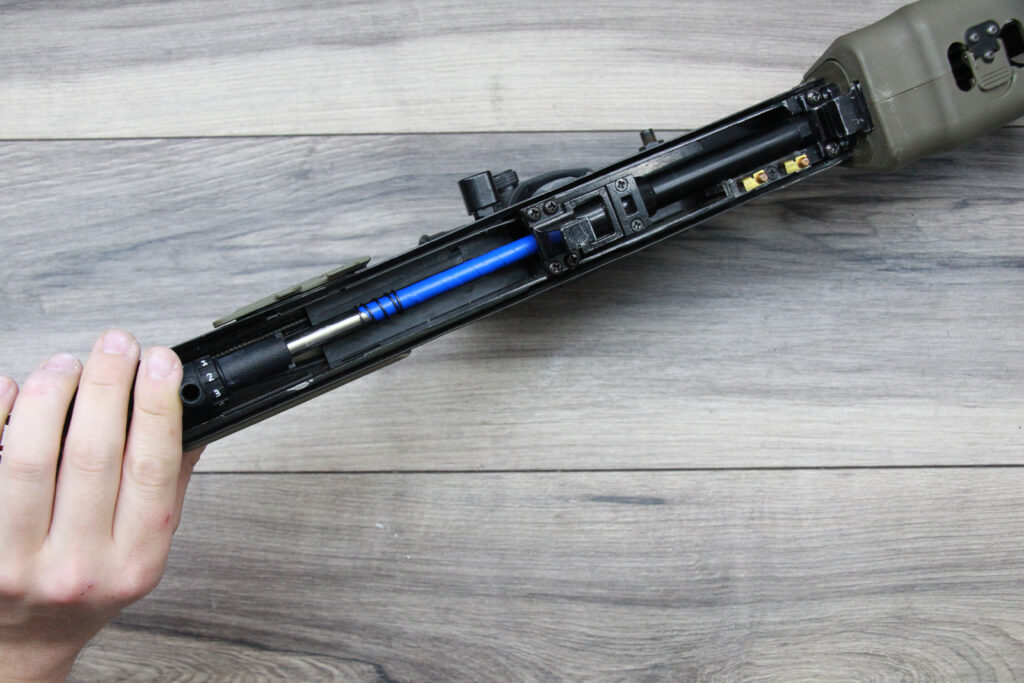
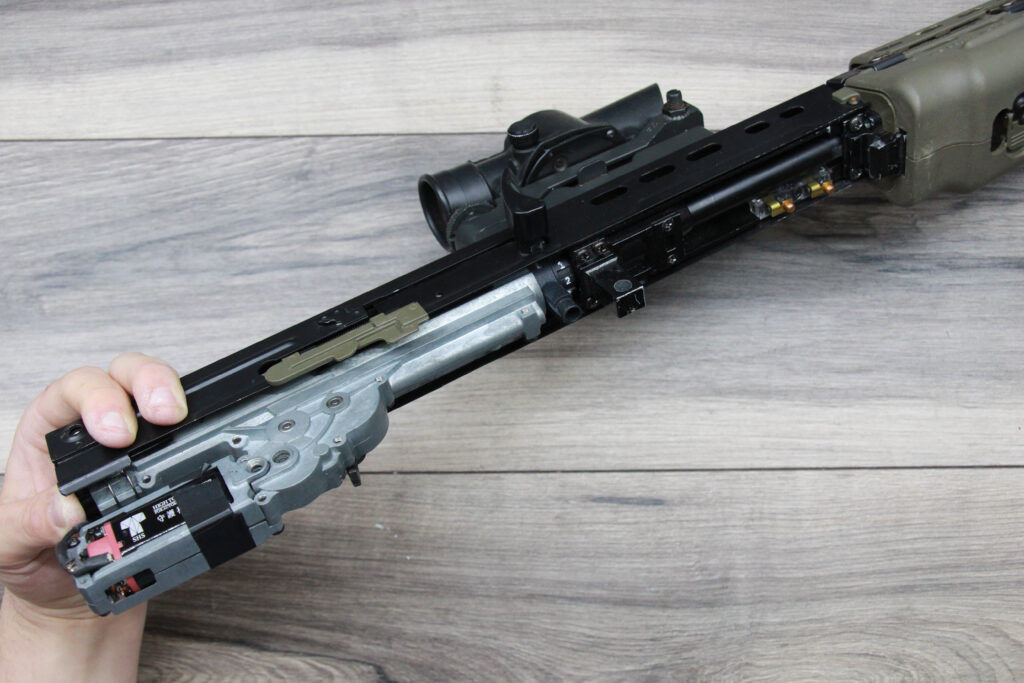
Now disconnect your motor wires and slide your gearbox out of the receiver.
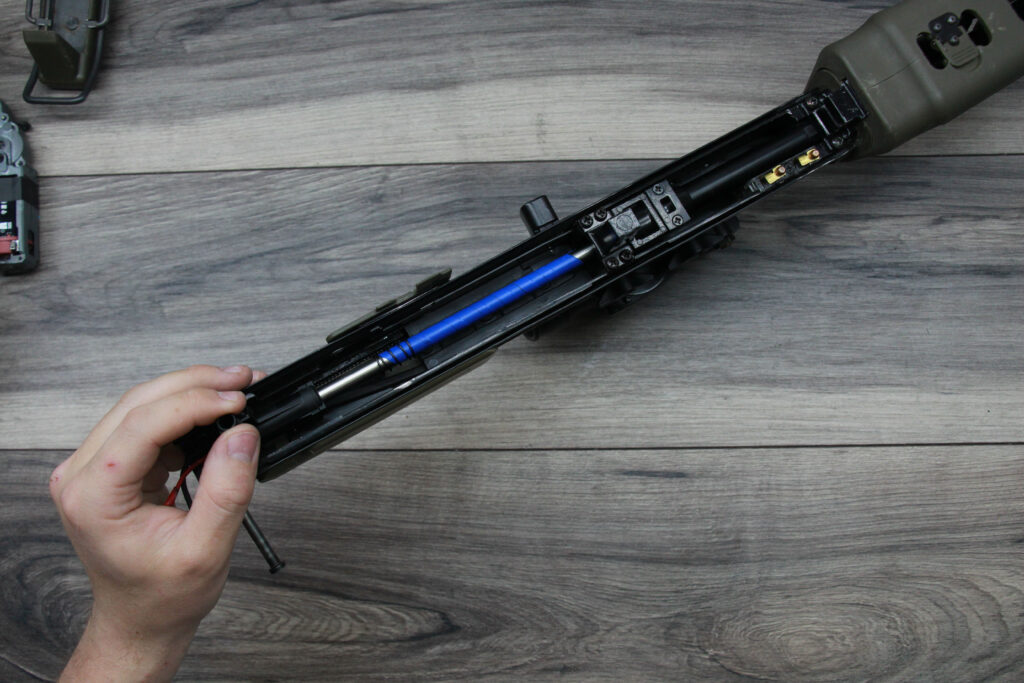
With the gearbox out the hop and barrel assembly can be slid out and removed.

Now that the barrel is out of the receiver we need to ensure the hop is turned all the way off.
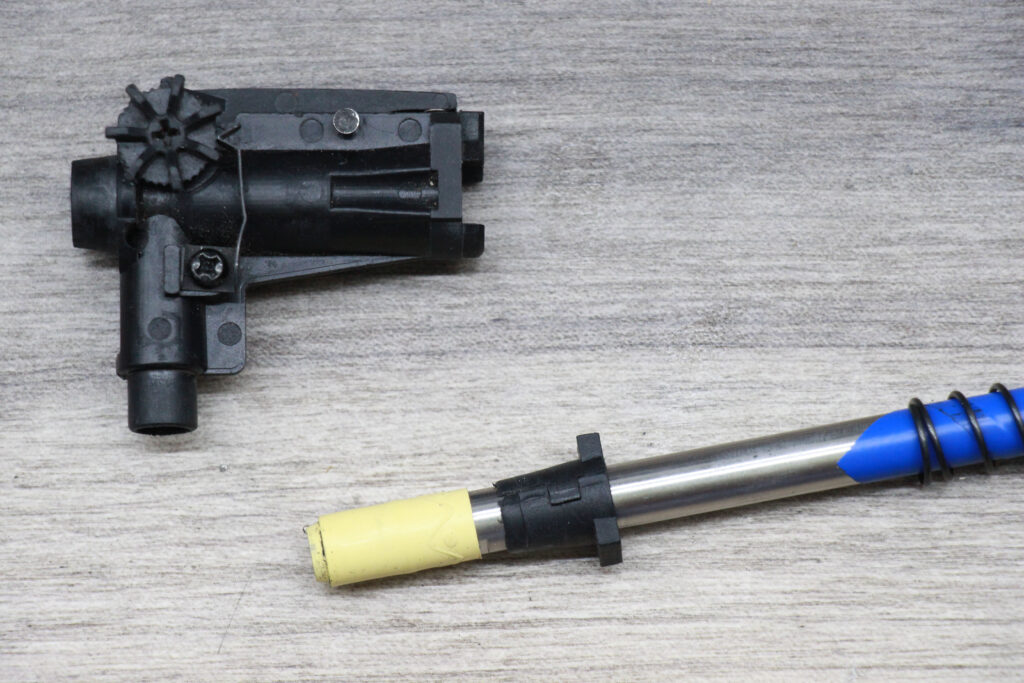
Now the original hop unit can be slid off of the barrel. This is now a prime time to clean your barrel and change your hop up rubber as you see fit!
Removing the current hop unit
Now that we’ve got the old hop unit off we can look to install your shiny new unit!

To start we’ll need to partially assemble the Hop Unit, Adjustment Wheel and Retaining O-Ring.
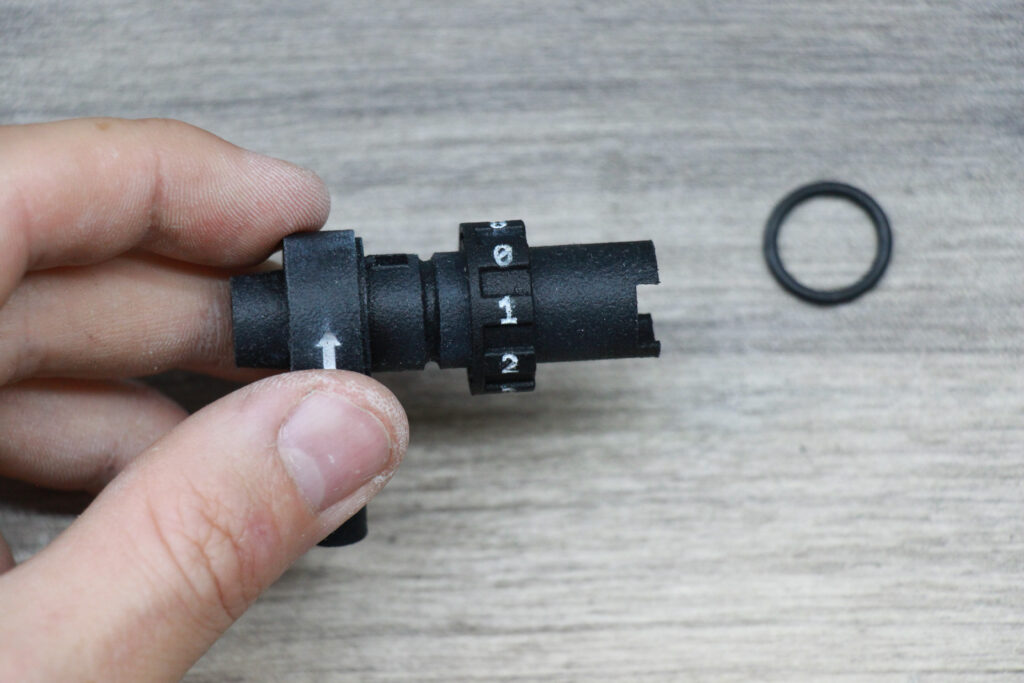
First slide the Adjustment Wheel partially onto the Hop Unit. Make sure you can still access the the window for the hop up nub.

Then slide the retaining O-Ring on in front of the adjustment wheel.
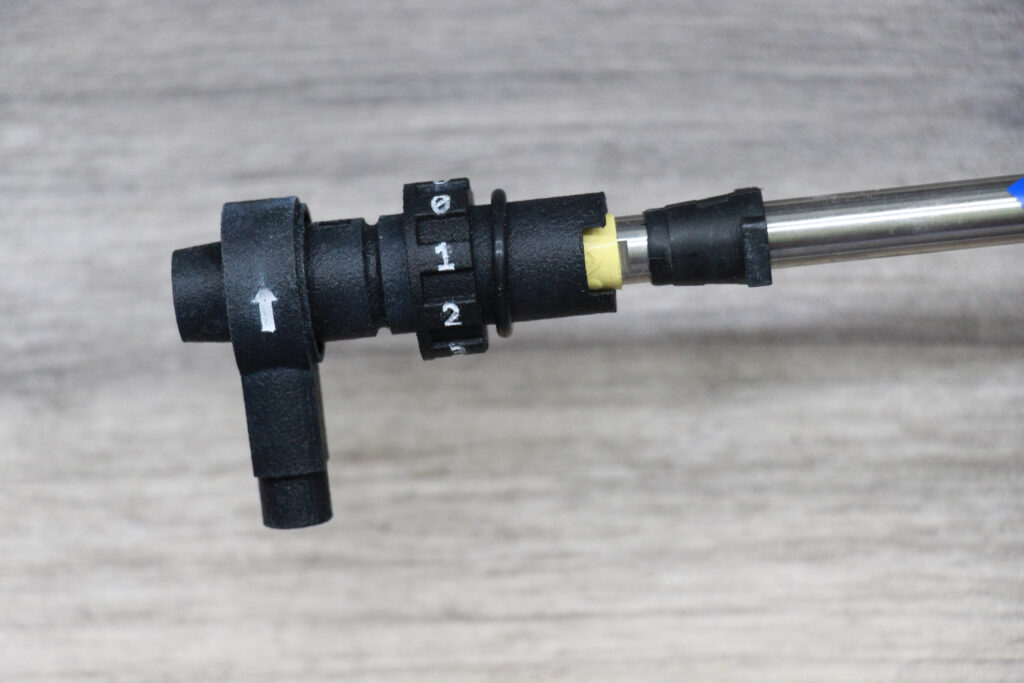
Now the partially assembled hop up unit can be slid onto the hop up rubber and barrel.

Now one of the kit nubs can be installed into the hop window.
Note that there are two nubs provided: a flat one for use with standard rubbers or flat hops and an arched one for use with maple leaf rubbers or R-Hop setups.

Now the wheel can be slid over the hop up nub by aligning the ‘0’ of the wheel with the arrow on the hop body. This will align the cut out with the nub.
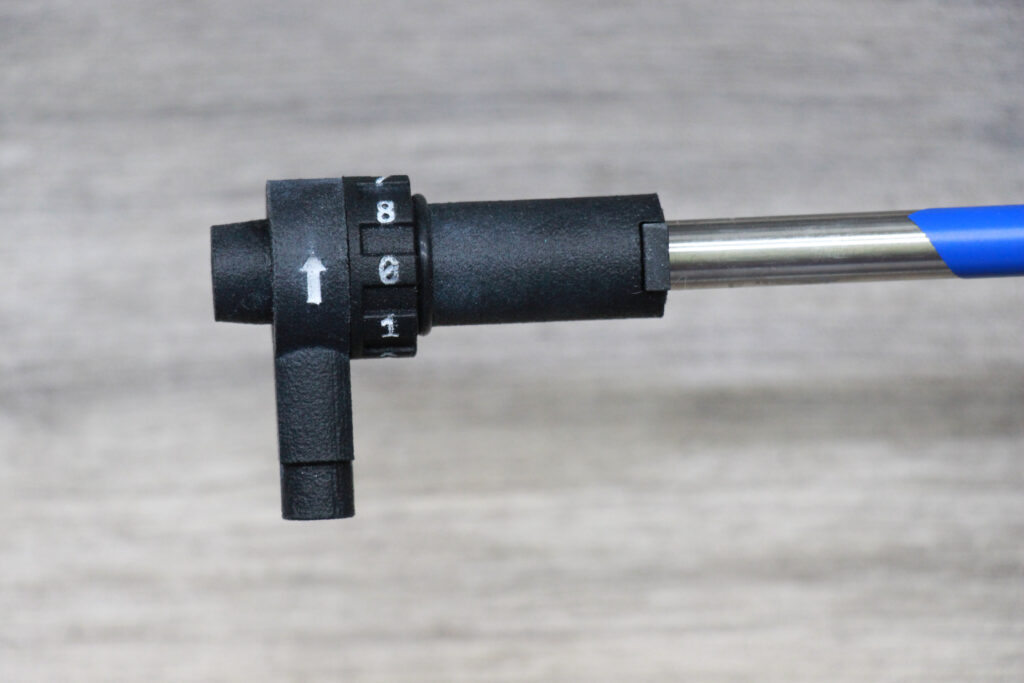
With the wheel now seated over the nub and against the hop up body the O-Ring can now be slid back until it locks the ring in place.
With the new hop assembled, it and the barrel can be re-installed into the receiver.
Now the gearbox can be re-installed and the motor wires reconnected.
Now the TMH can be hinged back onto the receiver and the front take-down pin reinstalled.
Finally the butt-pad can be put reattached and the rear take-down pin locked in place.
Note: if you loosened your motor locking screw, you’ll need to tighten it back up.
And that’s it! Your new hops installed and ready to rock it on the field! Now to adjust it all you need to do is cock and lock your mock bolt and adjust the hop dial as needed!
